Adding NSX Networking to a VCD Tenancy using IP Spaces

Introduction
IP Spaces is a new IP management service that was introduced in Cloud Director 10.4.1.
This feature enables Service Providers to have the capability to control and manage IP address scope, ranges, prefixes, and quotas .You can create different IP scopes and assign them across all tenants without any overlapping or duplication. It also is an improvement when tracking IP usage across tenants.
Not only are IP Spaces new to me but NSX integration with VCD is as well so I thought I’d spin up a new tenant from scratch and go from there.
Here is my BoM for this deployment
| Component | Version |
|---|---|
| vCenter Server | 8.0.1 (21560480) |
| ESXI | 8.0.1 (21495797) |
| NSX | 4.1 |
| Cloud Director | 10.4.2 |
Here is what we will go over in this post
Whats been set up already
- Create Network Pool
- Create Provider VDC
- Create Org
- Create Provider Gateway
- Create Private IP Spaces
- Assign IP Space Uplink
- Create OrgVDC
- Create Tenant Gateway
- As a Tenant, create a new network
Whats been set up already
A working and configured vCenter Server and a working and configured NSX Instance
I have Deployed and configured VCD. I have added my vcenter server as a compute resource and my NSX Manager as a NSX Resource.
For this blog post my Provider Gateway (T0 router) is going to be set as Private, this means a T0 needs to be allocated per individual tenant. This has already been deployed in NSX and configured. Im also going to enable Route Advertisement on my Networks so I have configured BGP pairing to my physical router.
Network Pool
First up is creating a Network Pool in VCD, this is done in the Provider Portal.
This essentially configures NSX-T backed traffic in VCD to use a specific Geneve backed Transport Zone in NSX.
In the Provider Portal go to Resources » Cloud Resources » Network Pools and click New
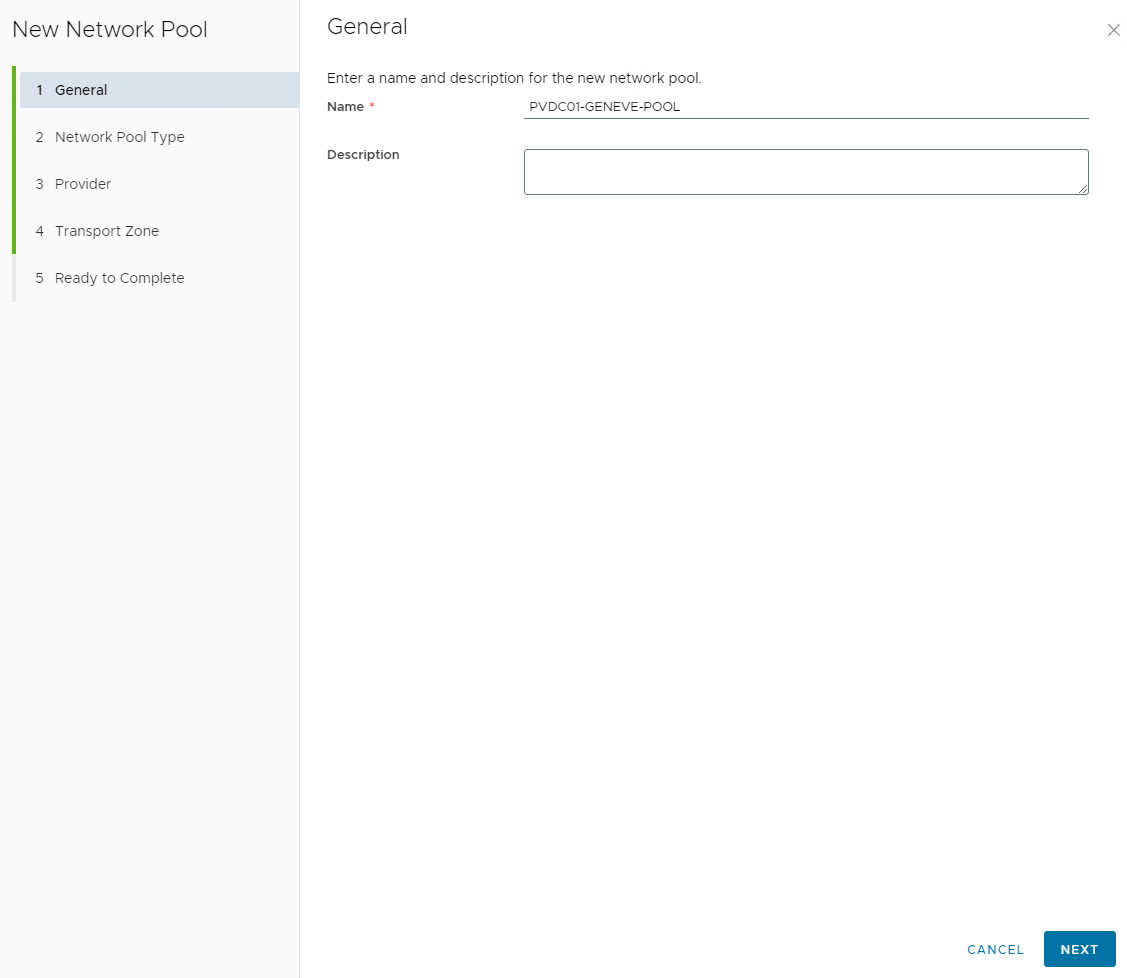
Give your Pool a Name and click Next
NSX 4.X is installed so this deployment will use Geneve Backed as a Network Pool Type and then click Next

Select NSX Instance and then click Next 
Choose the NSX overlay transport zone thats been configured and then click Next 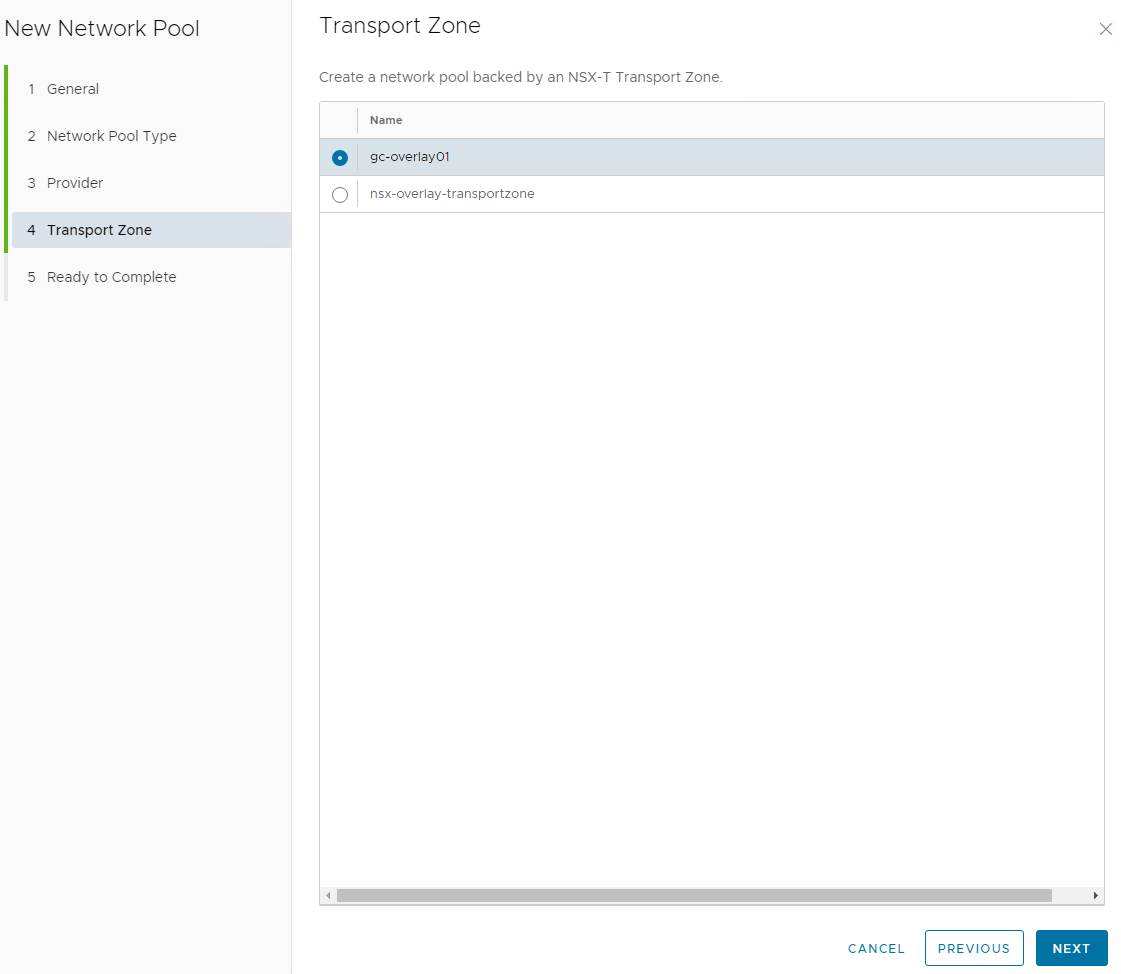
Review Settings and then click Finish 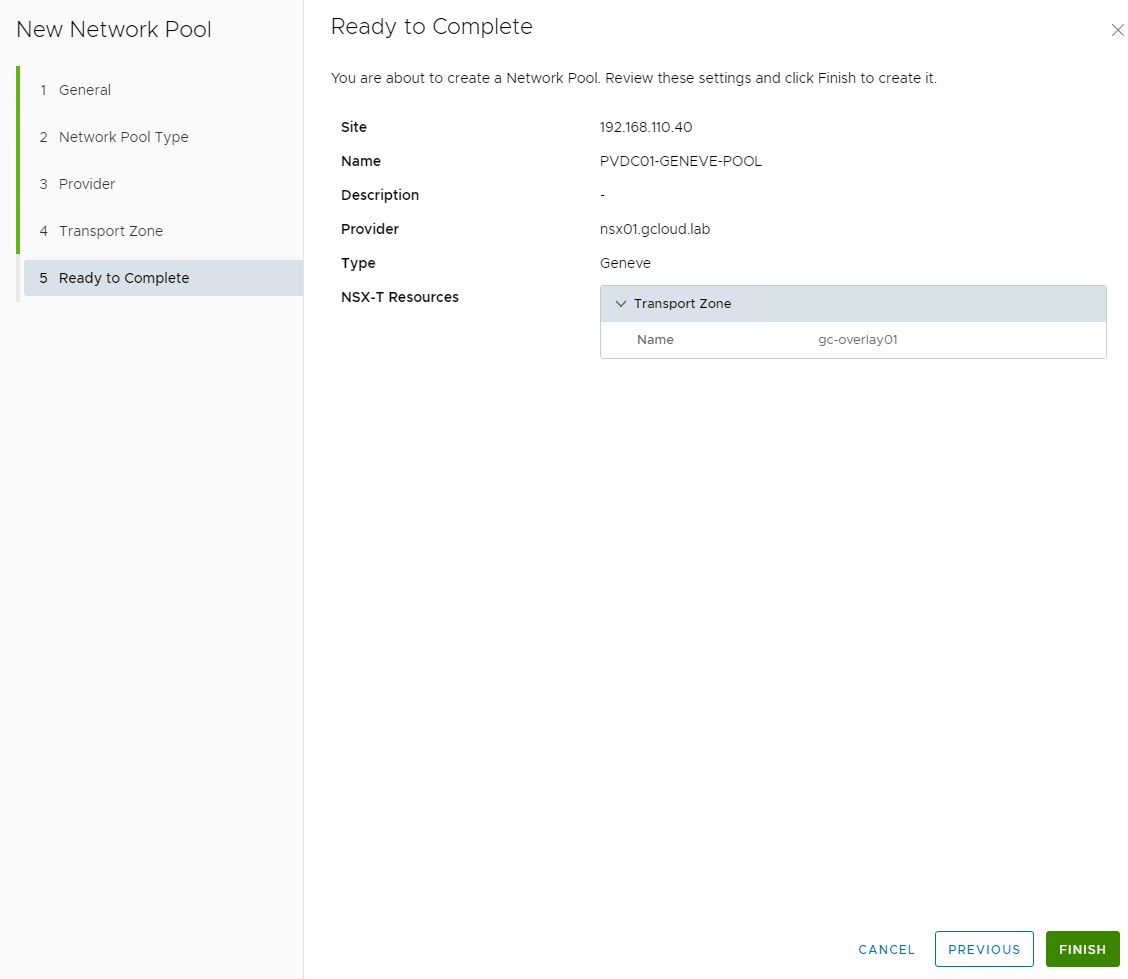
VCD will now create the Network Pool, this pool is needed to configure your Provider VDC.
Create Provider VDC
Next is to create a new Provider VDC.
This can be done in the Provider Portal under Resources » Cloud Resources » Provider VDCs and clicking on New
Name your Provider VDC and click Next 
Choose your Cloud Resource (vCenter) and click Next

Choose the vCenter cluster or resource pool that will map to this Provider VDC and click Next

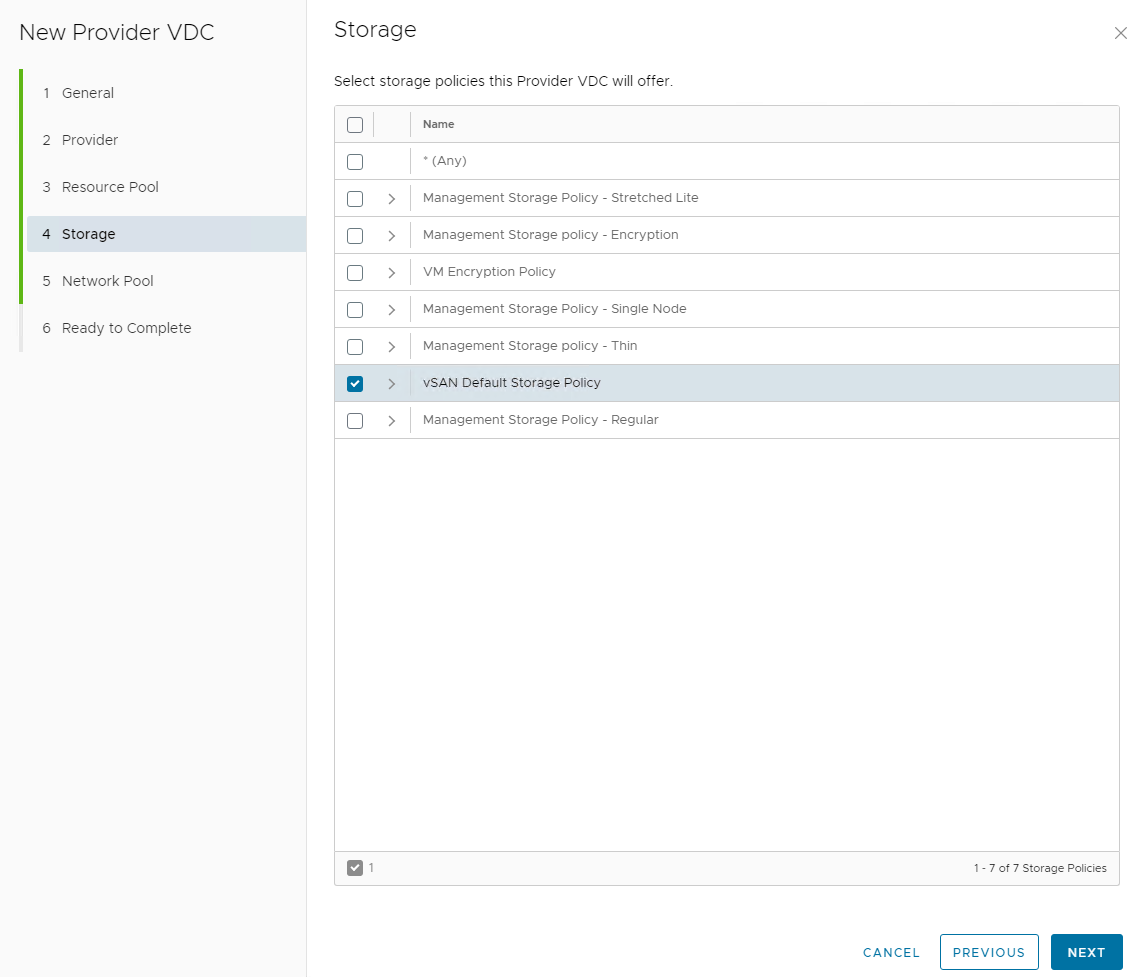
Choose your Sotrage Policy and click Next
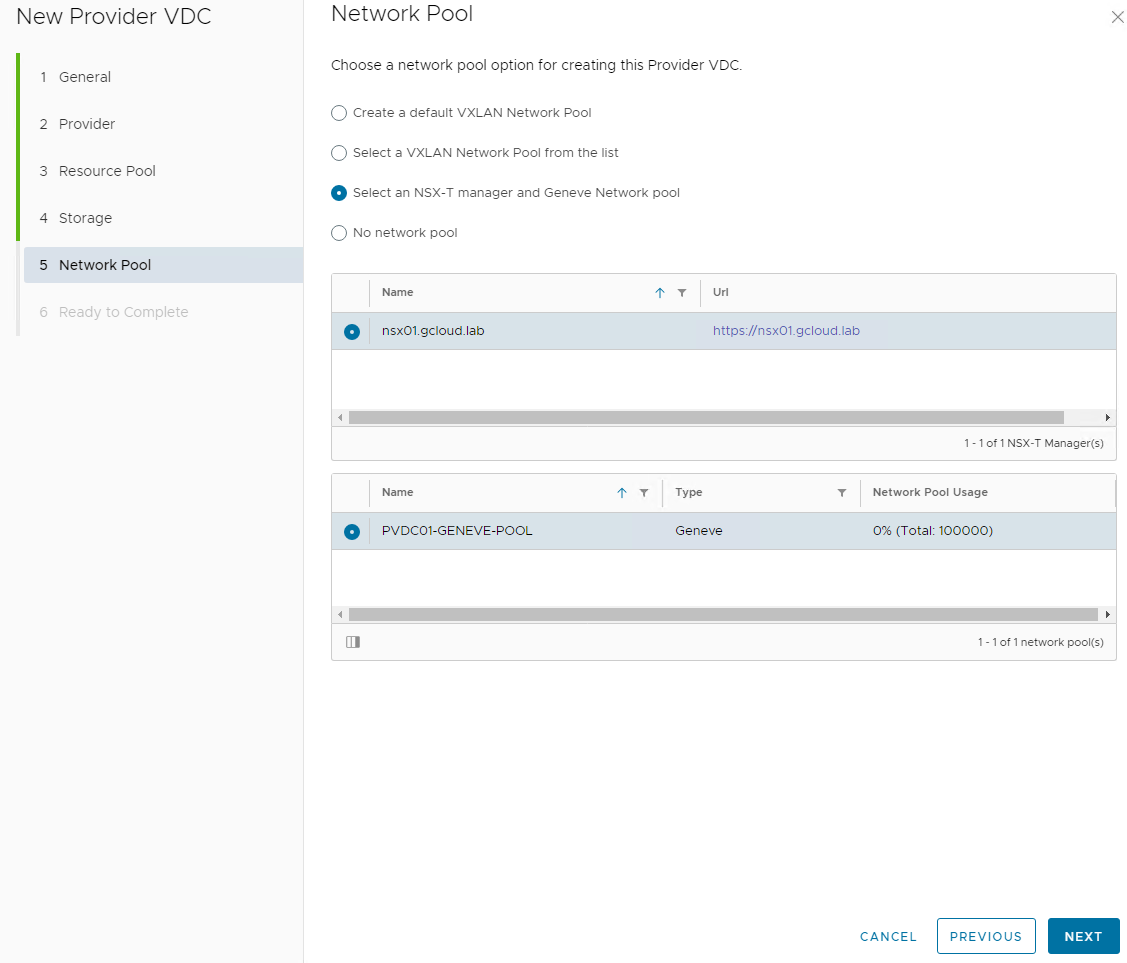
Choose the Geneve Backed Network pool we created in the last step and click Next
Review Settings and then click Finish
Create Org
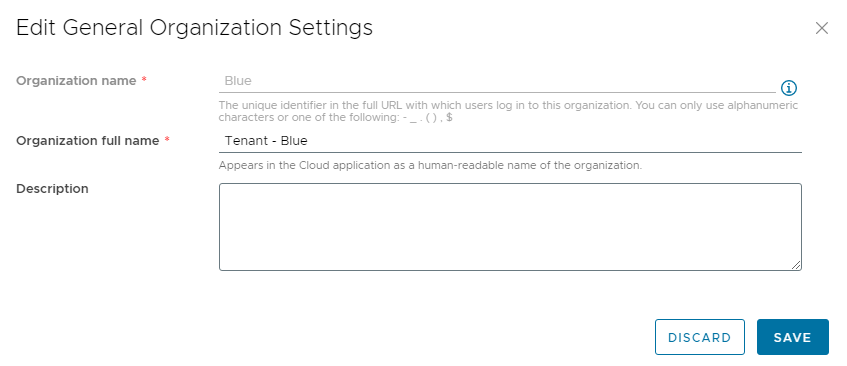
Next Step is to create an Organization, At the moment im colour coding all my Tenants so I will call this one ‘Blue’
This can be done in the Provider Portal on Resources » Cloud Resources » Organizations
Create Provider Gateway
Next step is to create the Provider Gateway. This is assigning the T0 router that was created in NSX to my VCD tenant named Blue. Assigning a T0 to a specific tenant is done by setting the Provider Gateway to Private which will be done in the steps below.
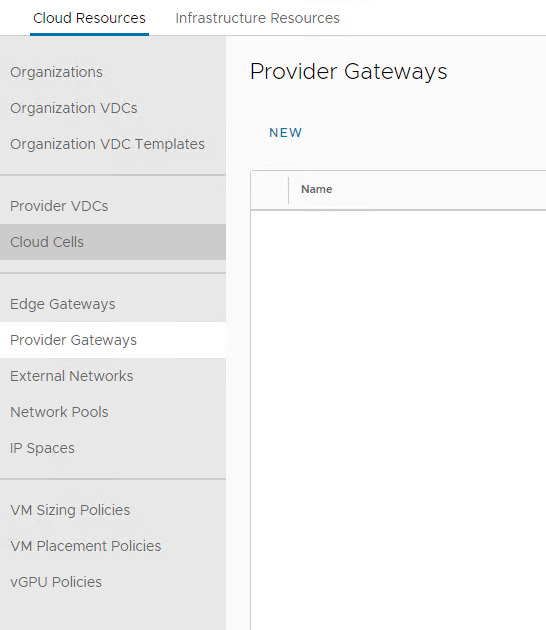
Creating a new Provider Gateway is achieved in the VCD Provider Portal. Resources » Cloud Resources » Provider Gateways, click New
Choose NSX Manager and click Next

Give your Provider Gateway a Name and also choose what VCD IP Management capability will be used. In this example we will use IP Spaces, click Next

Set Provider Gateway to Private and assign to my Blue Organization, click Next

Choose the NSX t0 router allocated for this Org and click Next
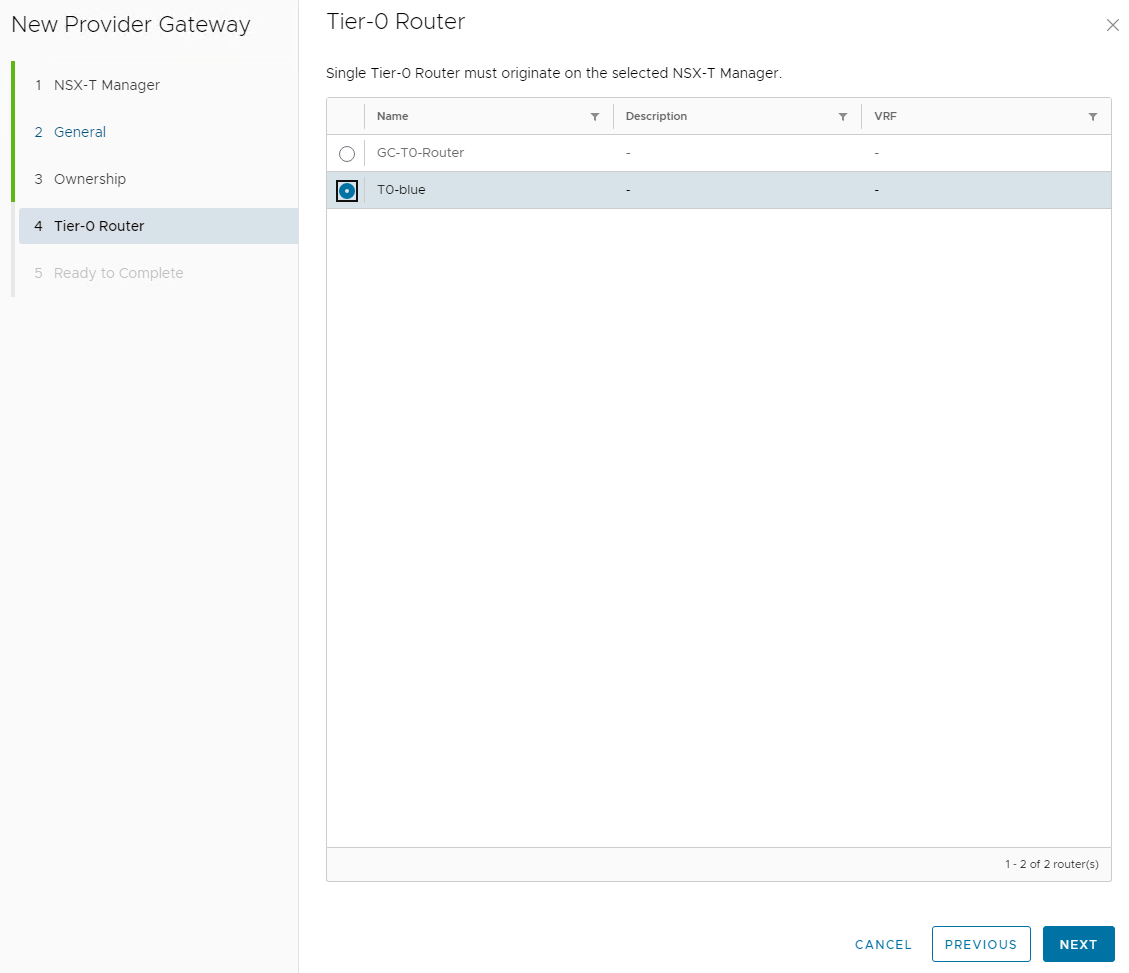
Review Settings and click Finish 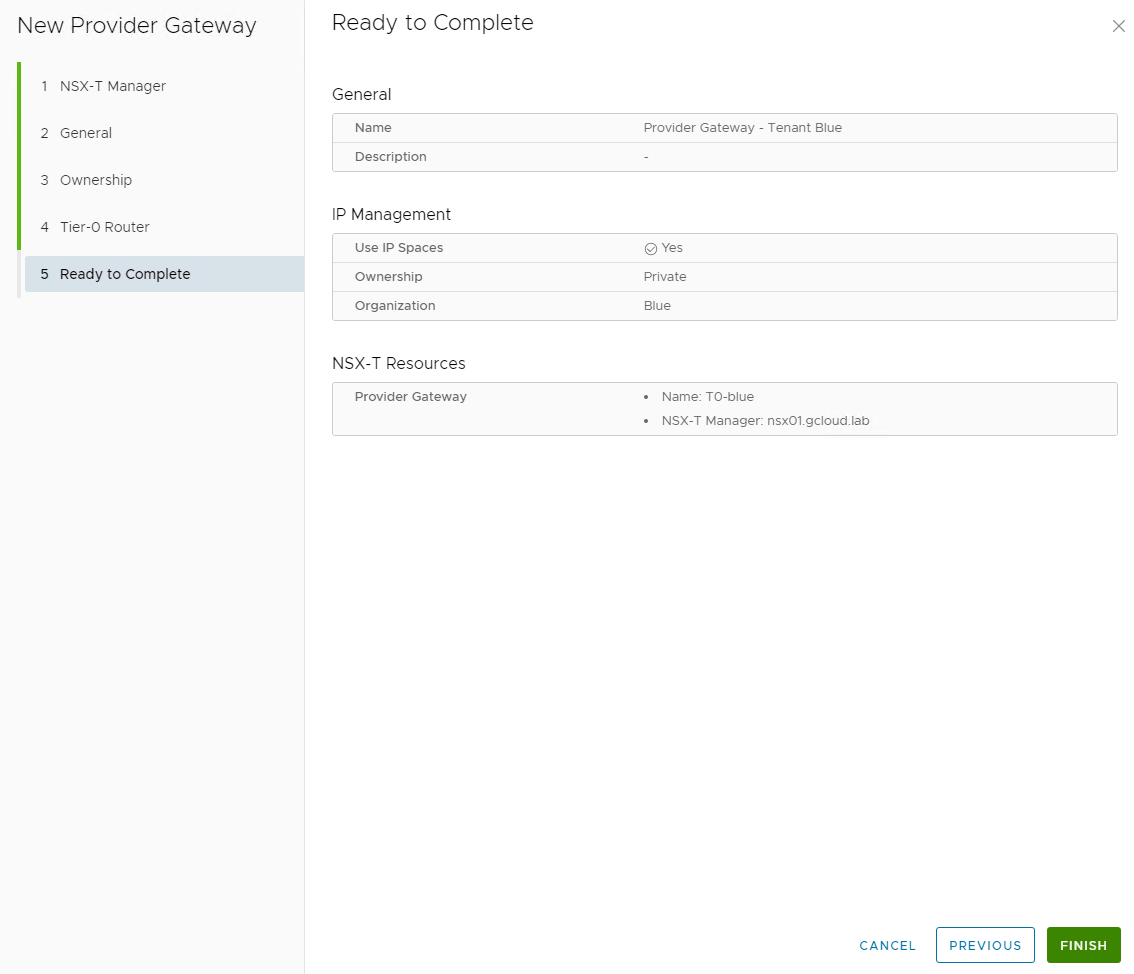
Create Private IP Space
Creating a IP Space will allow the tenant to request a IP Prefix to use within their OrgVDC, in this example the tenant ‘Blue’ will be allocated a /16 scope which will then be broken up into 255 /24 blocks.
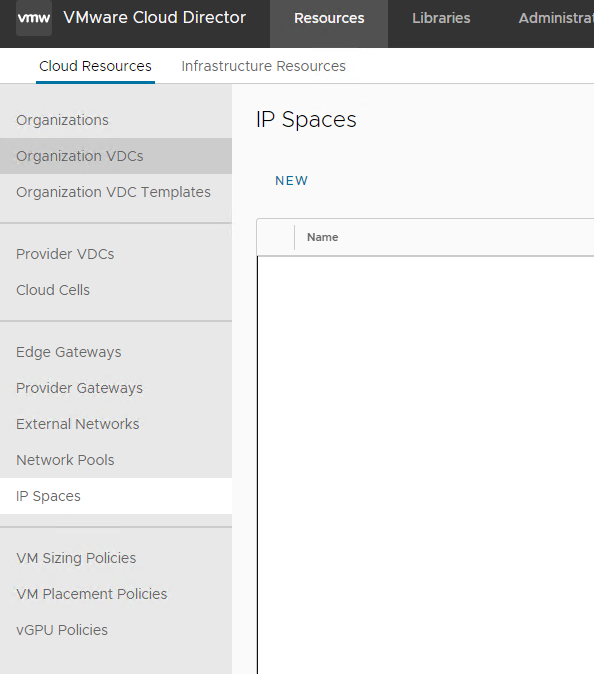
Create a IP Space in the Provider Portal. Resources » Cloud Resources » IP Spaces
This IP Space will be allocated to the tenant Blue only so choose private, assign the appropriate Org and click Next 
Give the IP Space a name and click Next

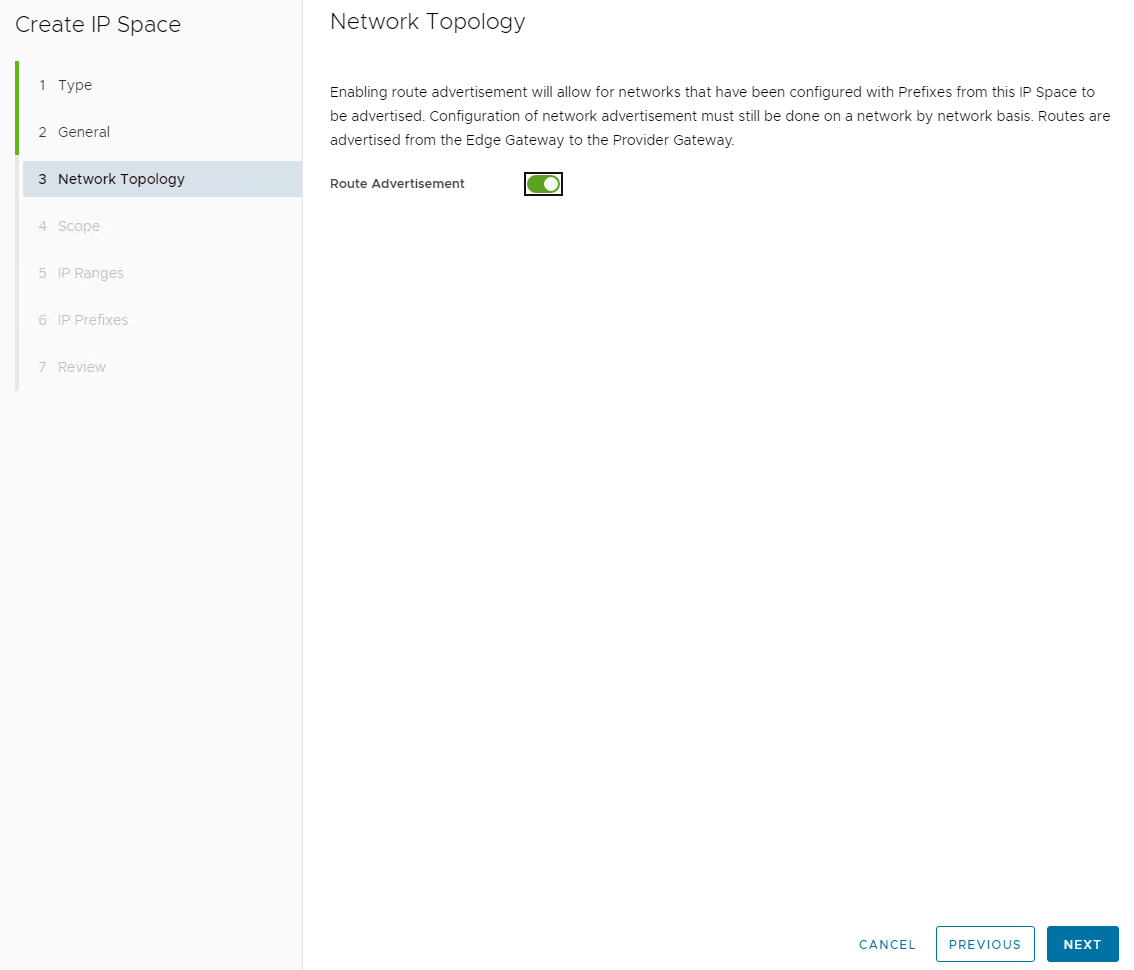
Since im all configured with BGP, Route Advertisment will be enabled, this means we also need to set up IP Prefixes instead of IP Ranges. Click Next
Scope is defining the /16 network, click Next
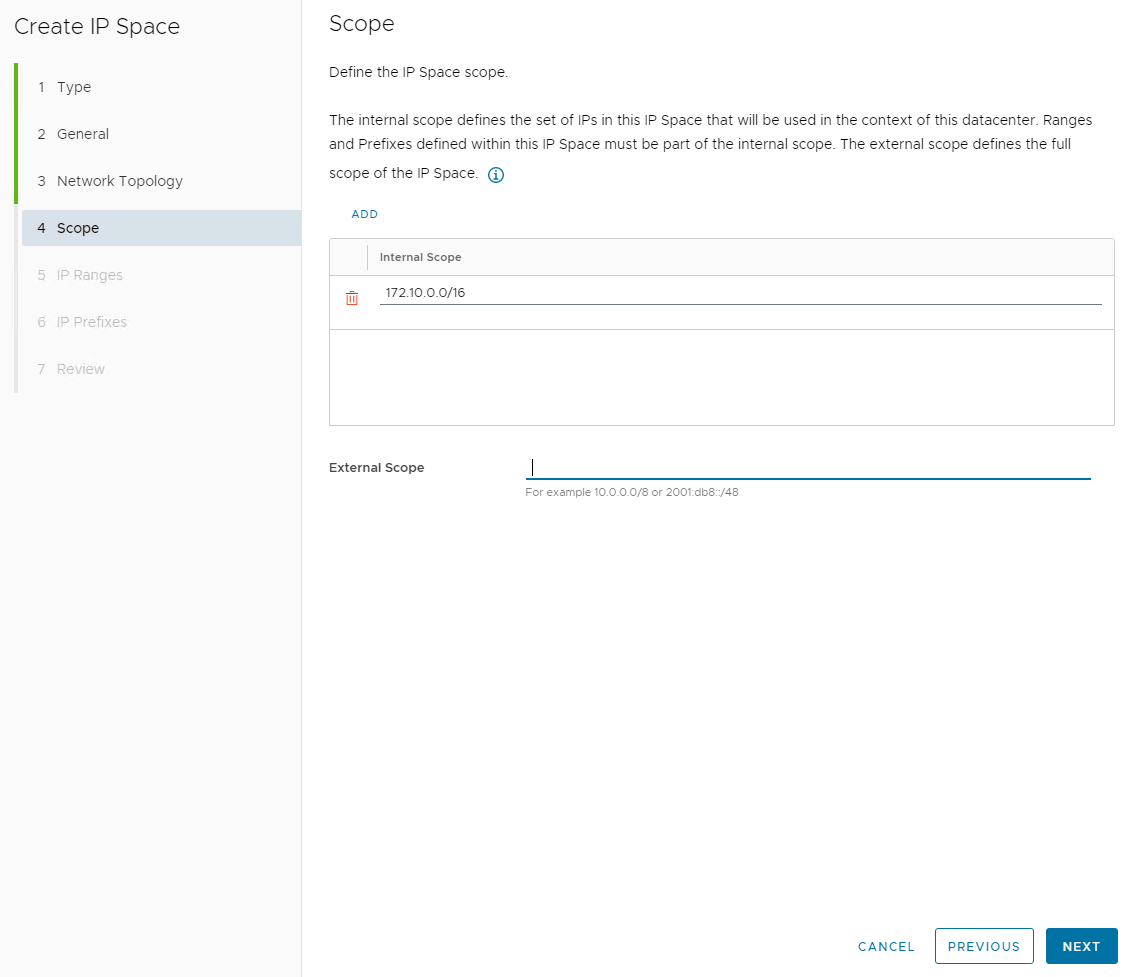
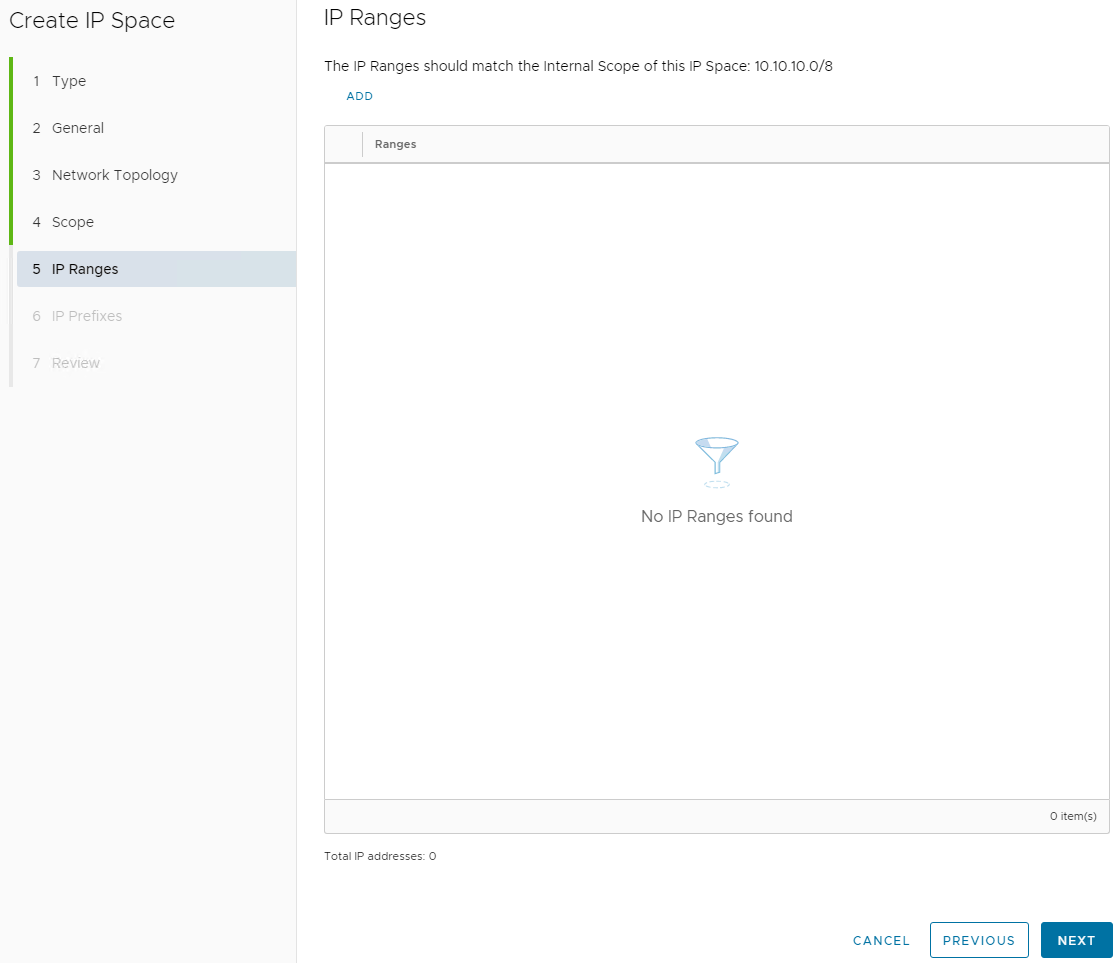
Skip IP Ranges and click Next
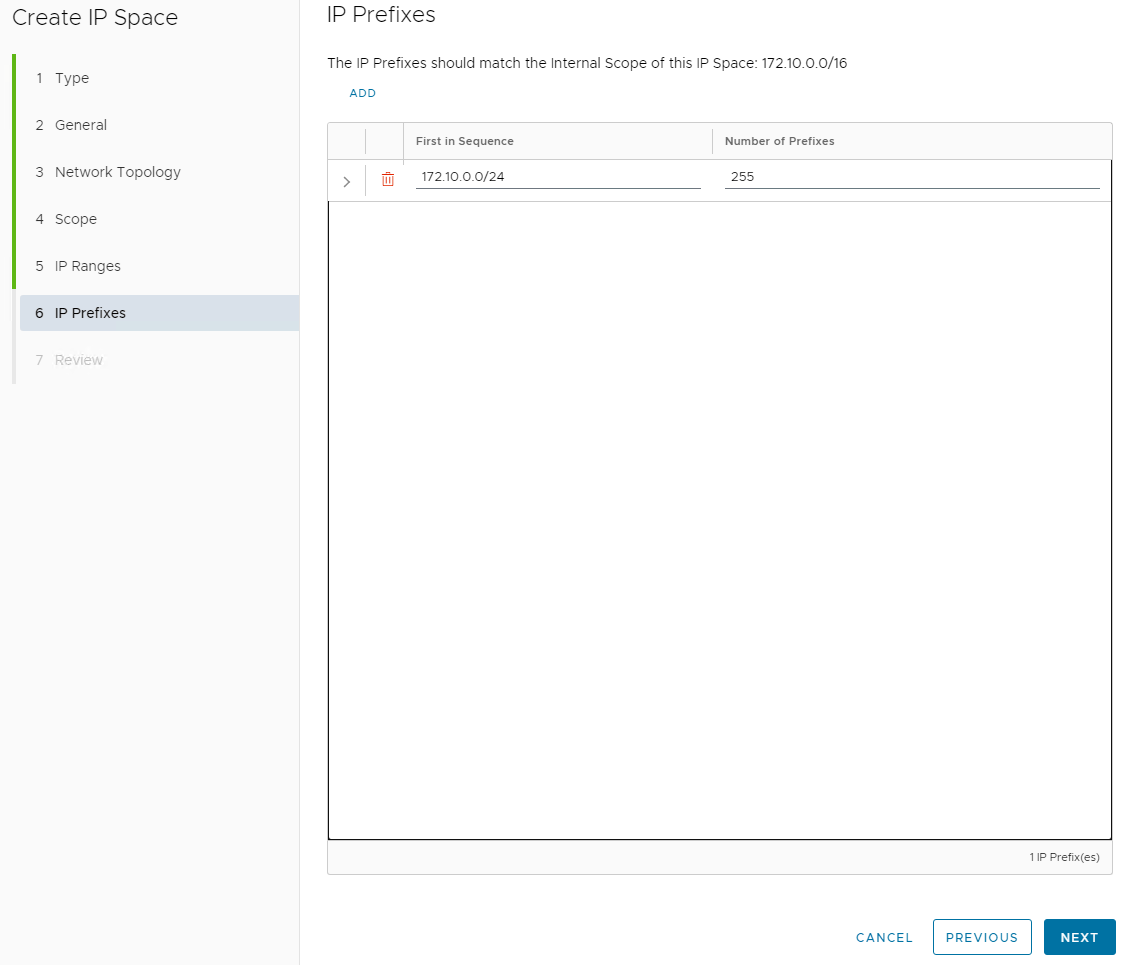
Set the IP Prefixes here, as stated below im going to take that /16 scope and break them up into 255 /24 networks. click Next
The IP prefixes need to match the scope of the IP Space.
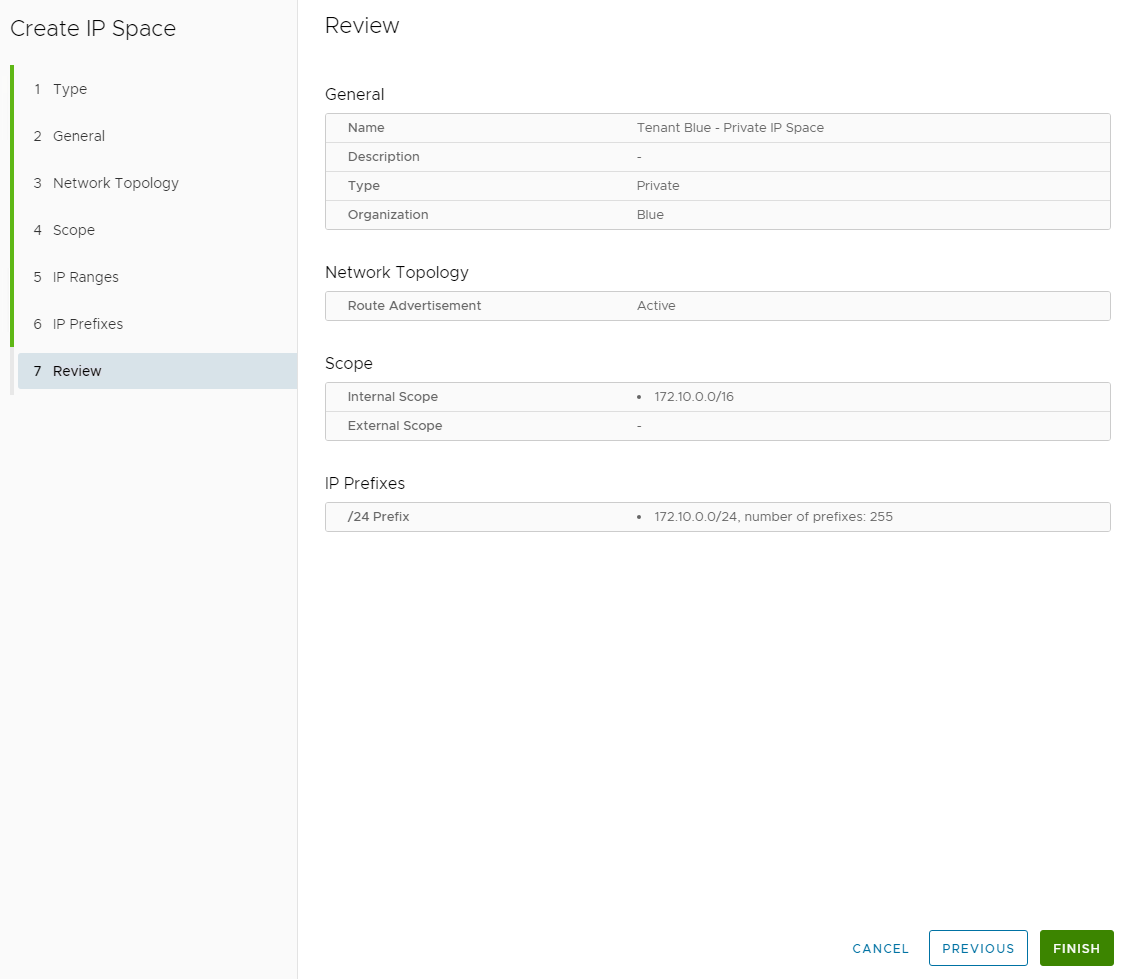
Review Settings and click Finish
You can now see your IP Space, if you expand IP Prefix you will be able to see all the Sequences.

Create IP Space Uplink
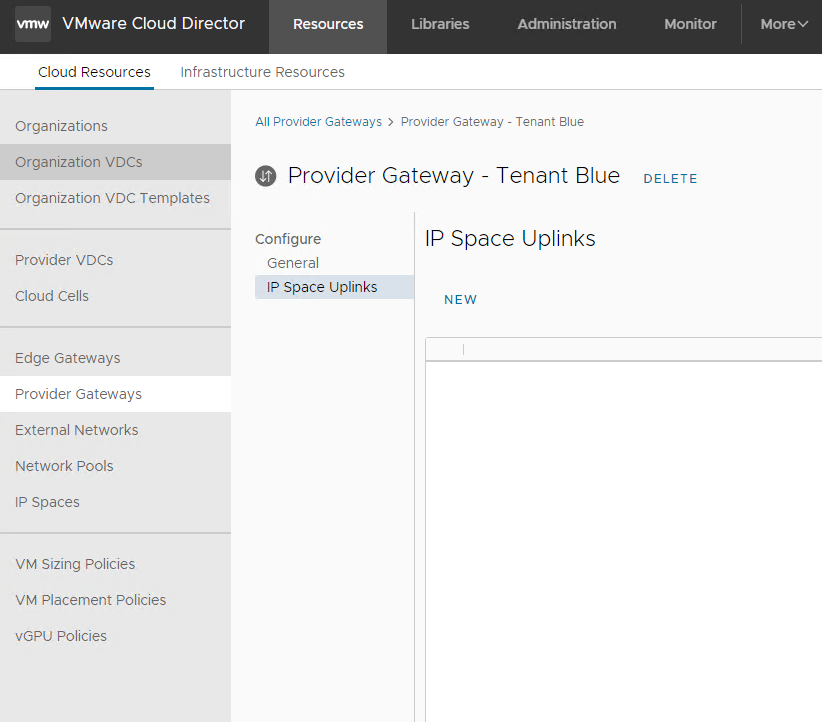
Since these IP Prefixes are going to be routable to the outside world, A IP Space Uplink needs to be created. This is done by browsing to your Provider Gateway created earlier.
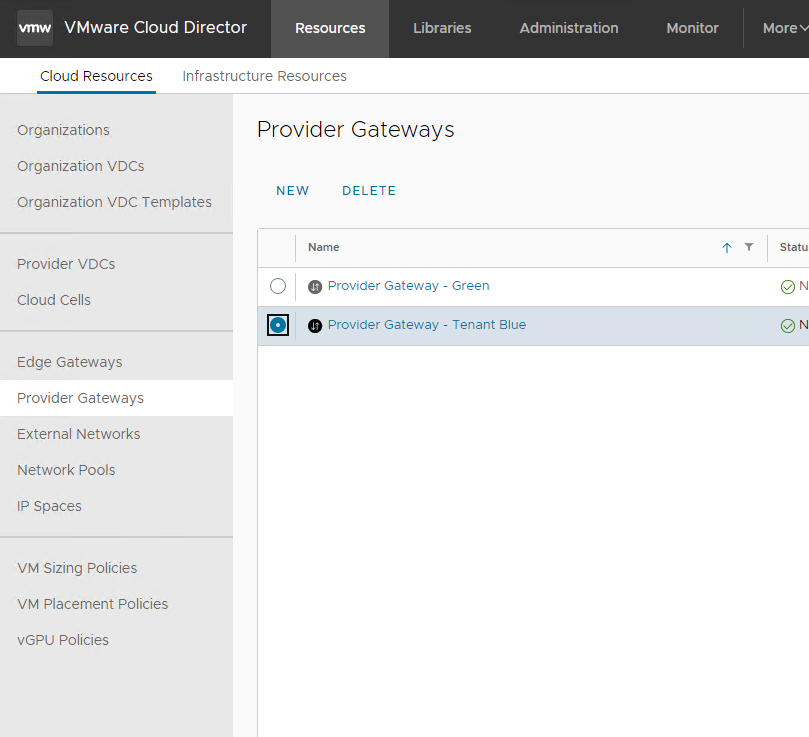
Under IP Space Uplinks in your Provider Gateway properties, click New
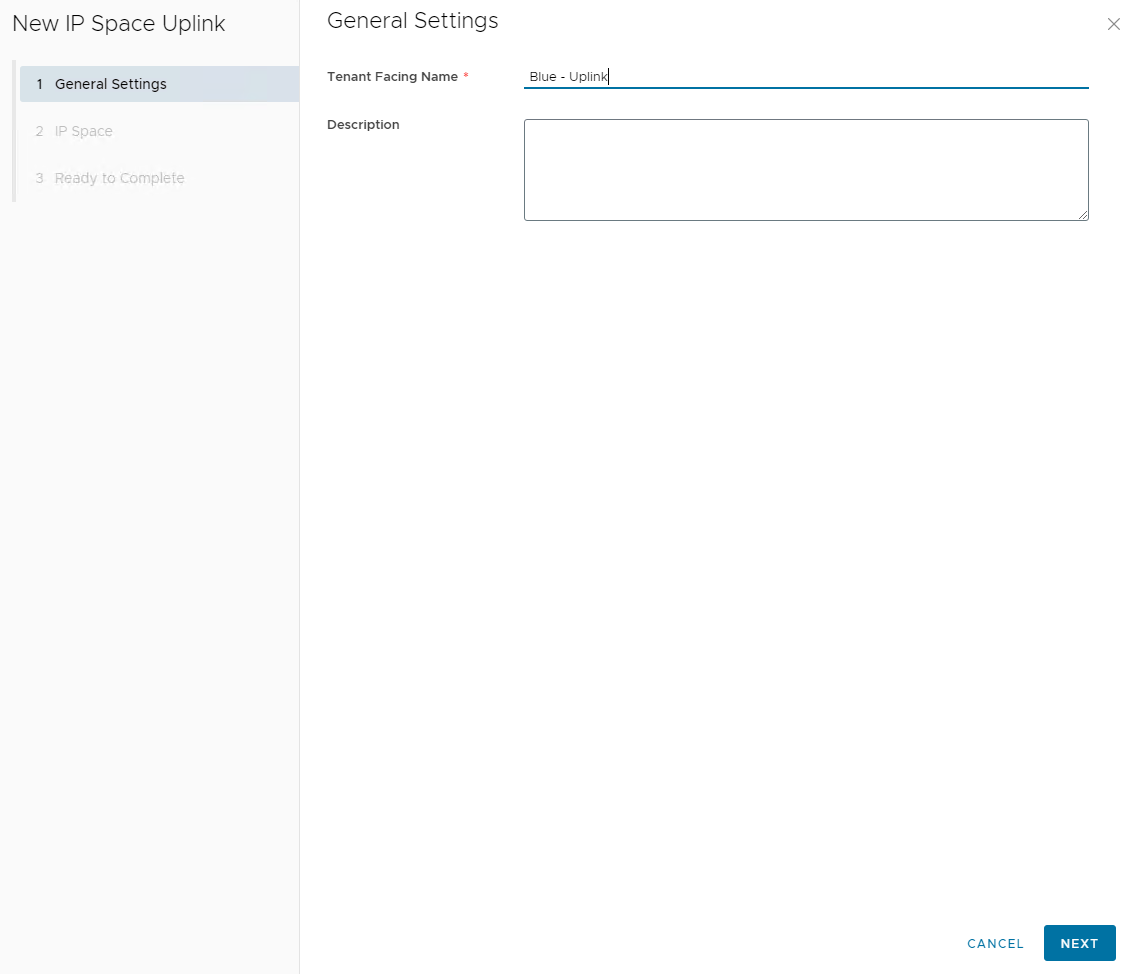
Provide a Tenant Facing Name and click Next
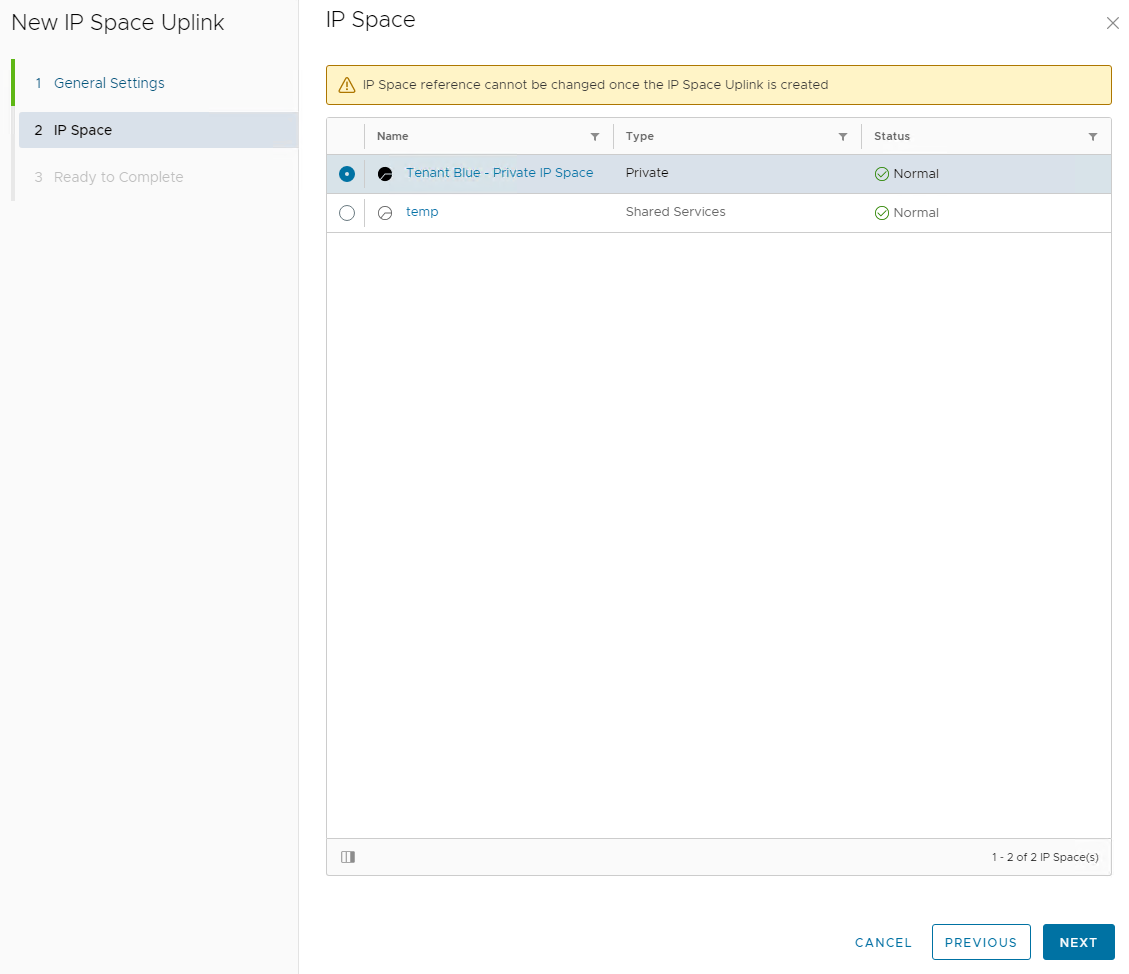
Choose your IP Space, click Next
Review Settings and click Finish
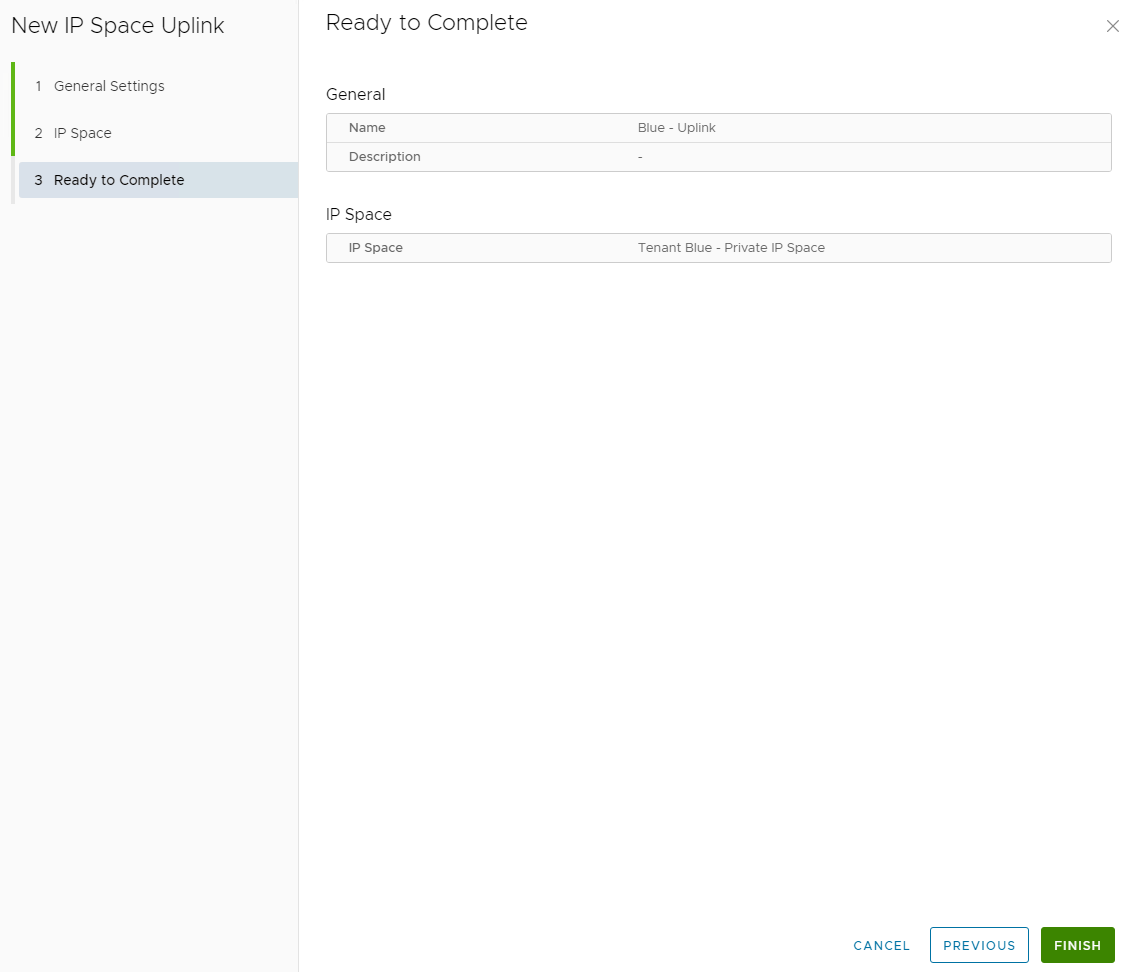
You should see your newly created IP Space Uplink now 
Create OrgVDC
OrgVDC Networks need a OrgVDC so lets create that.
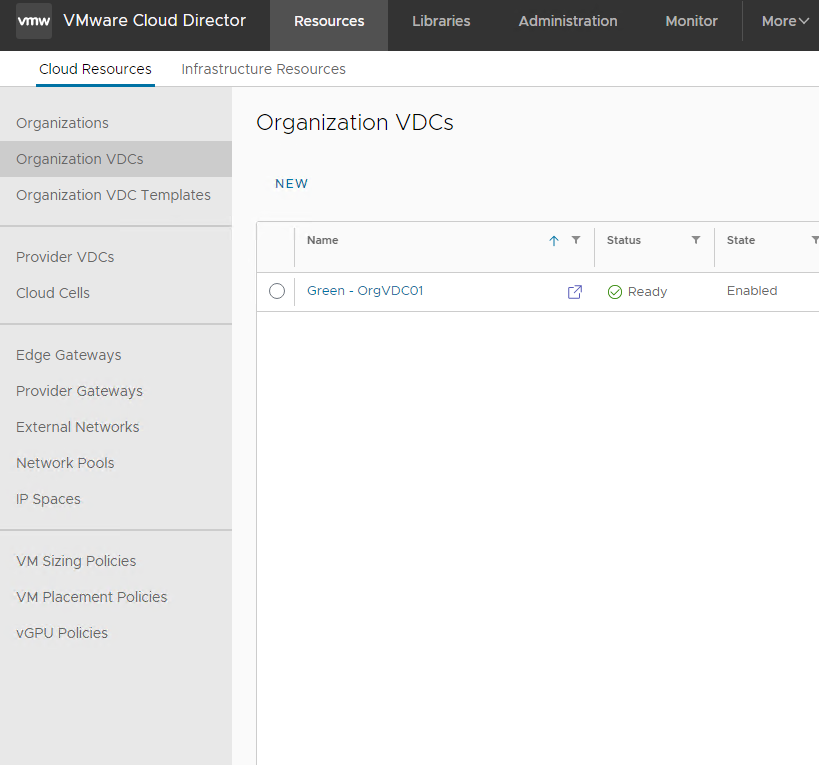
In the Provider Portal under Resources » Cloud Resources » Organization VDCs, Click New
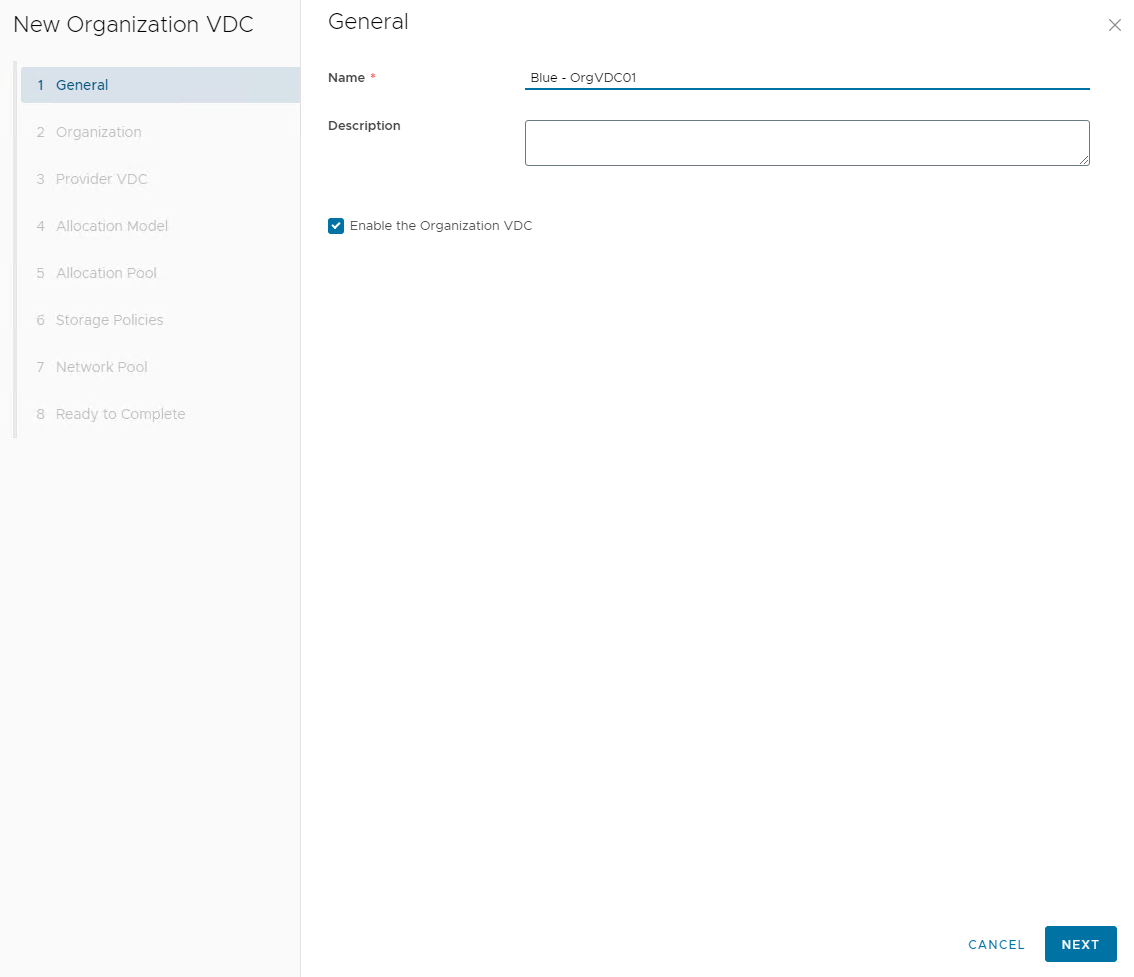
Name the OrgVDC, click Next
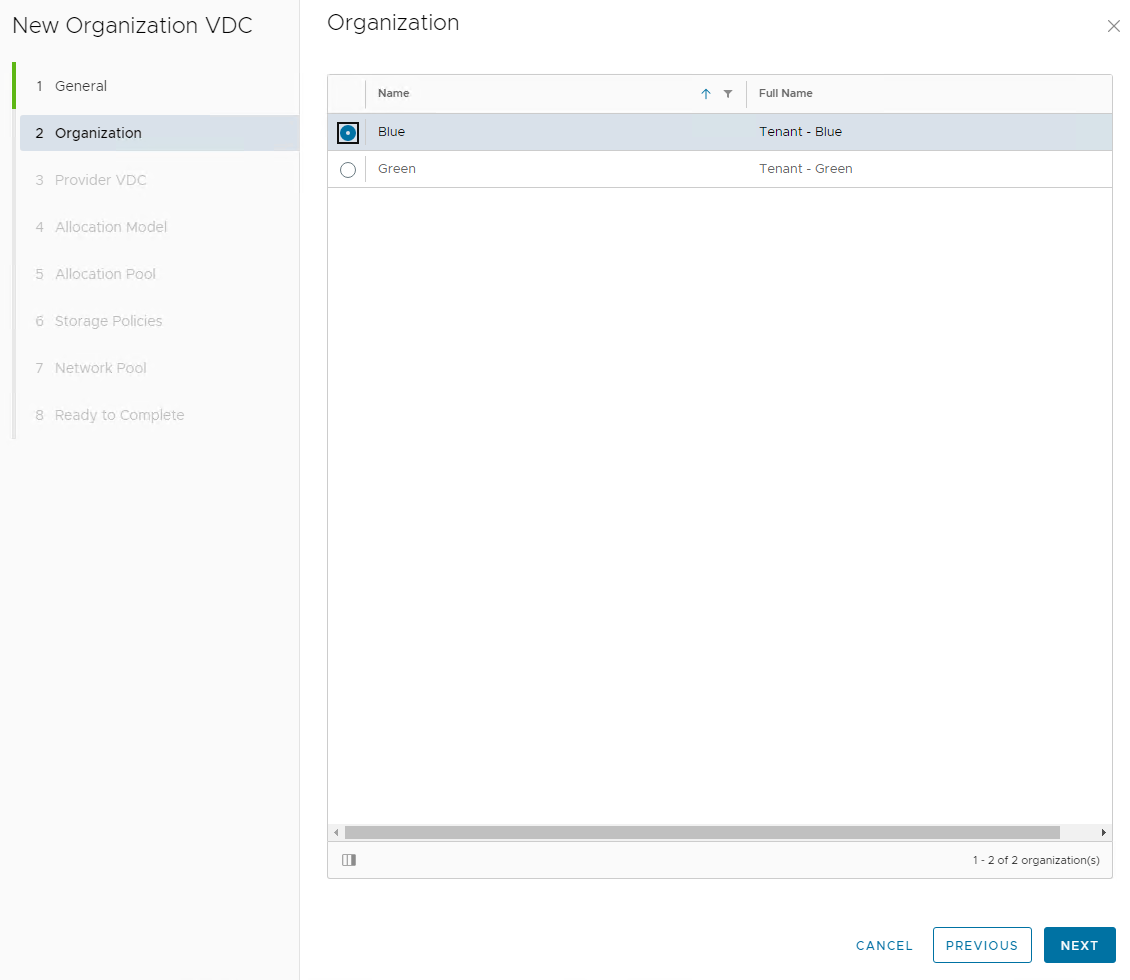
Assign OrgVDC to Organization, click Next
Choose Provider VDC, click Next

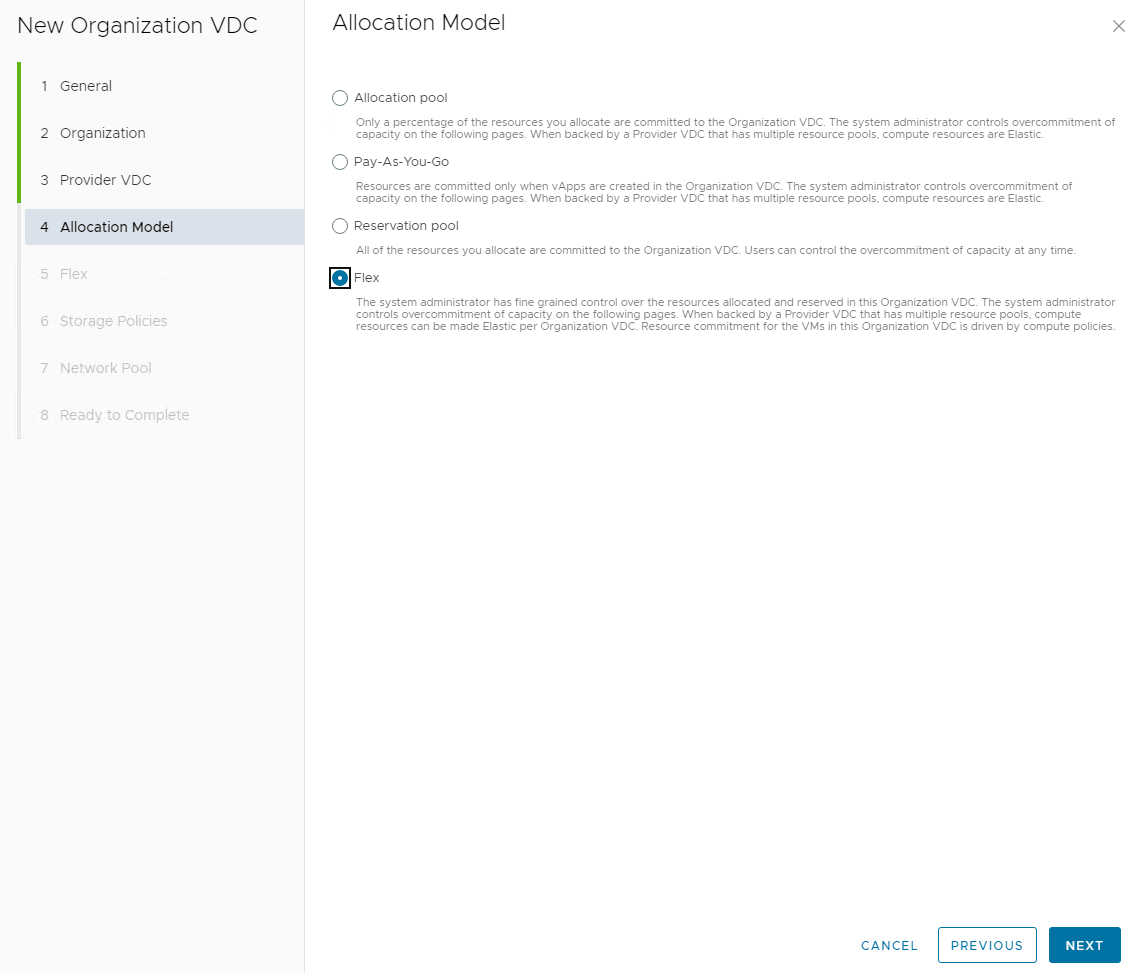
Choose the preferred Allocation Model, click Next
Configure the Resource Allocation settings, click Next 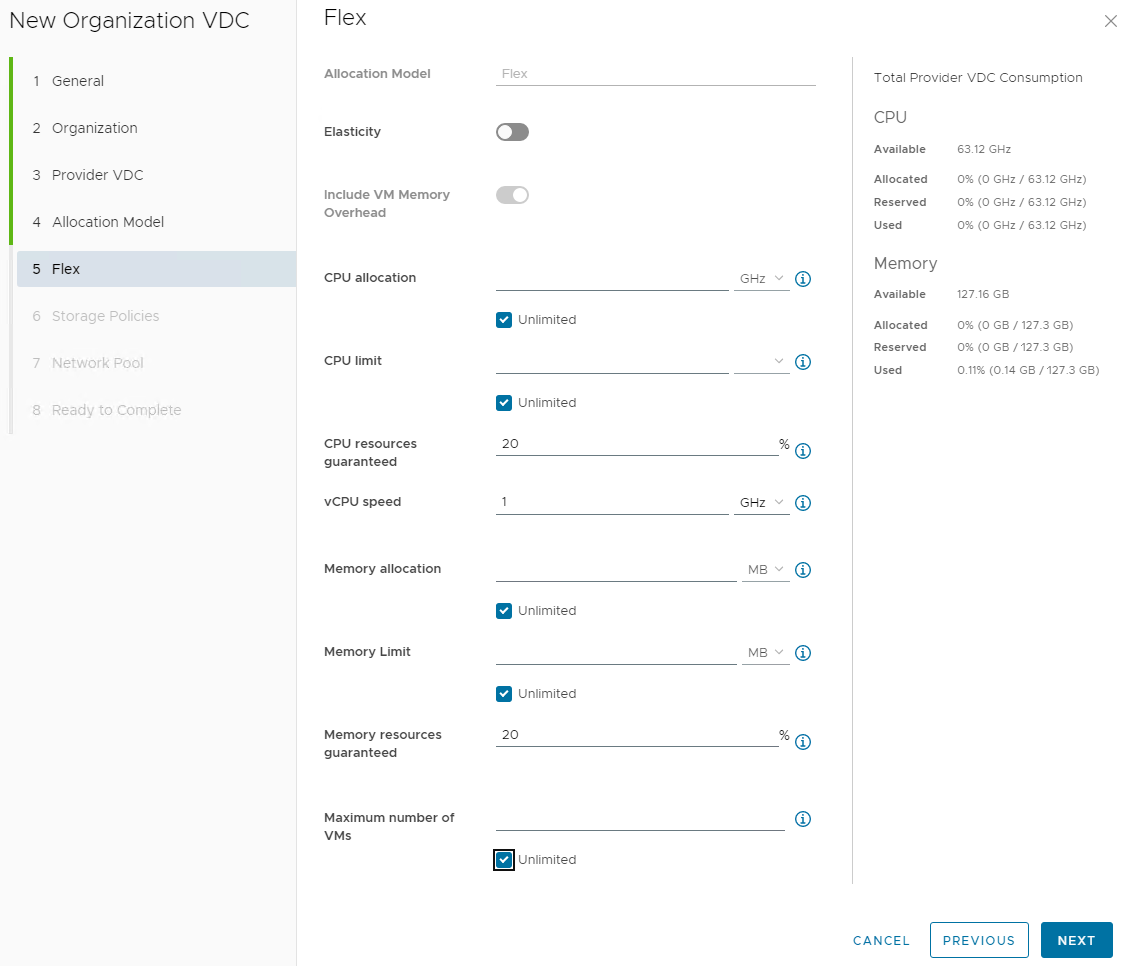
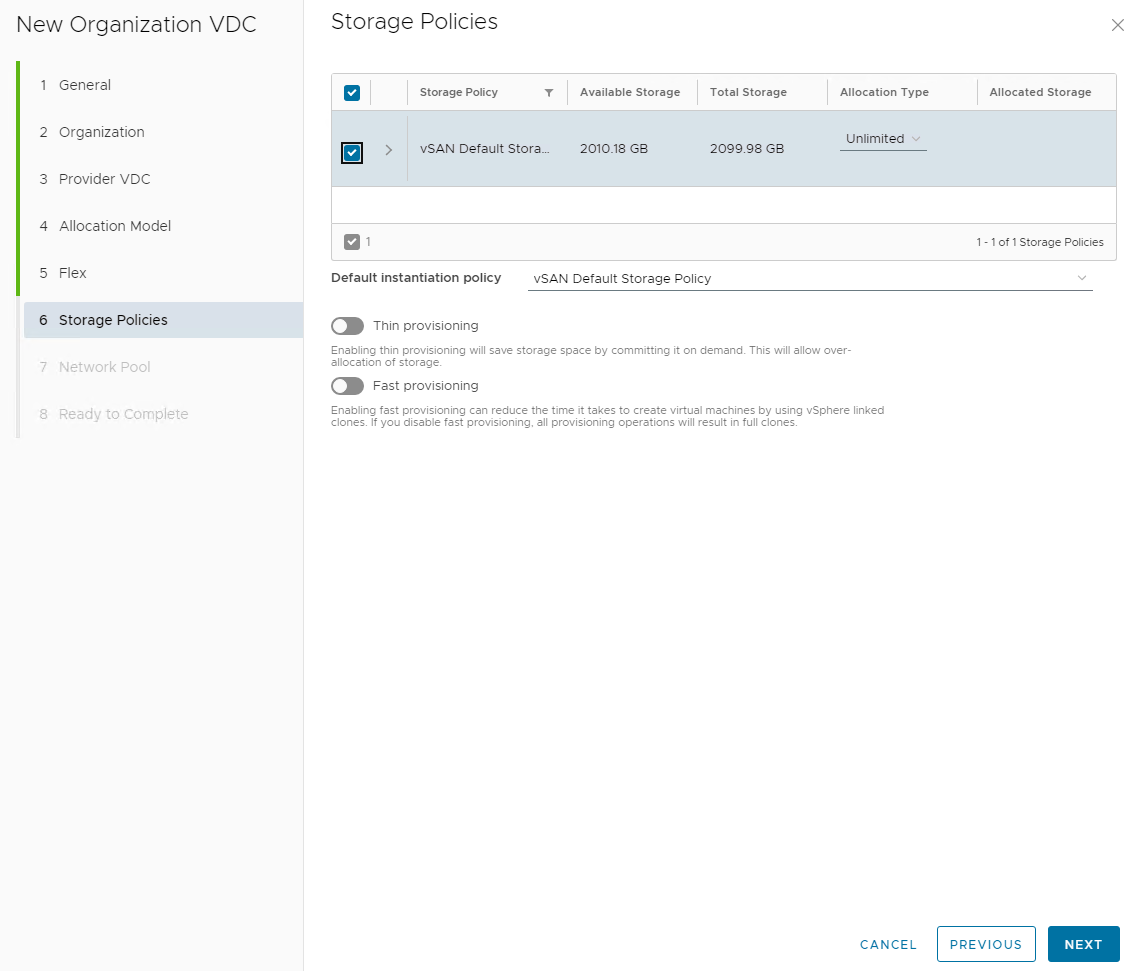
Add Storage Policies and Quotas, click Next
Choose the Network Pool, click Next 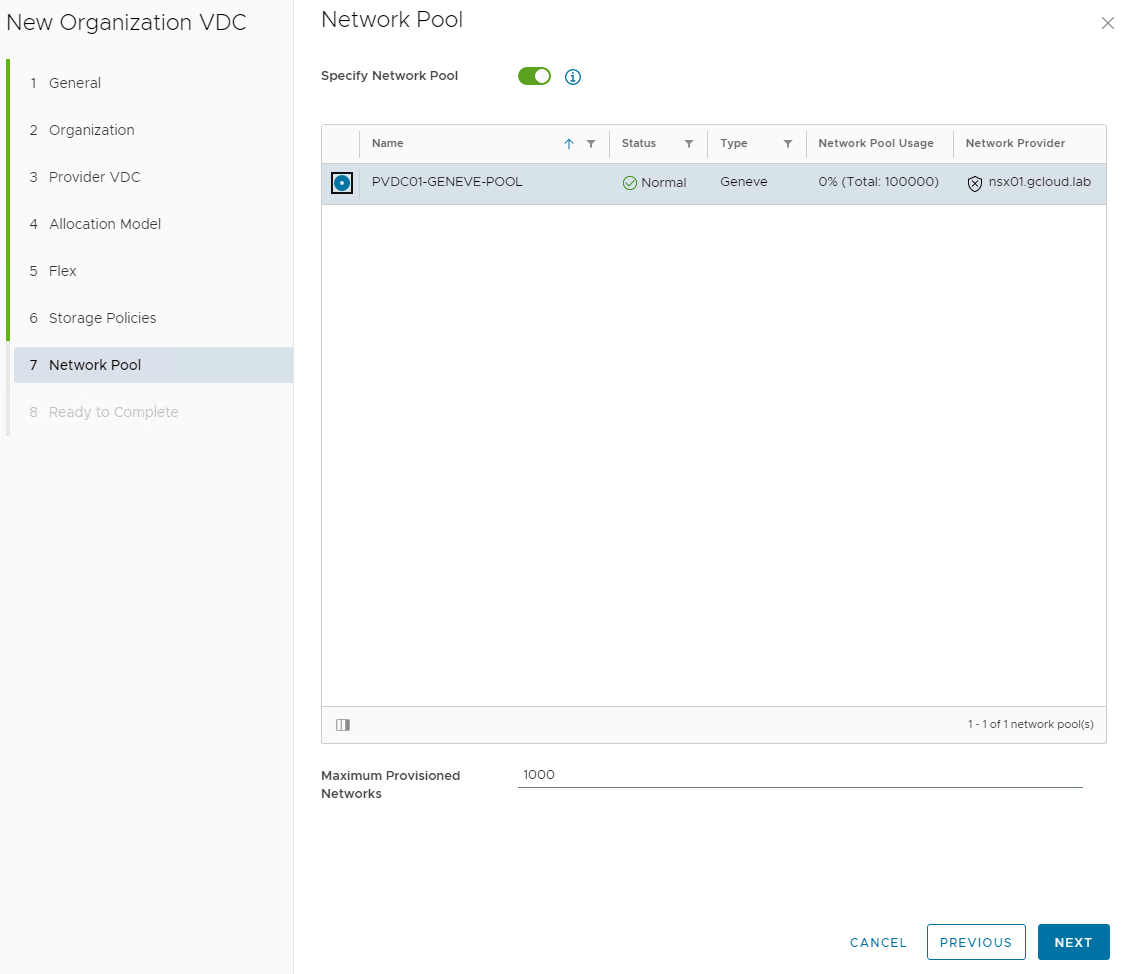
Review Settings, click Finish
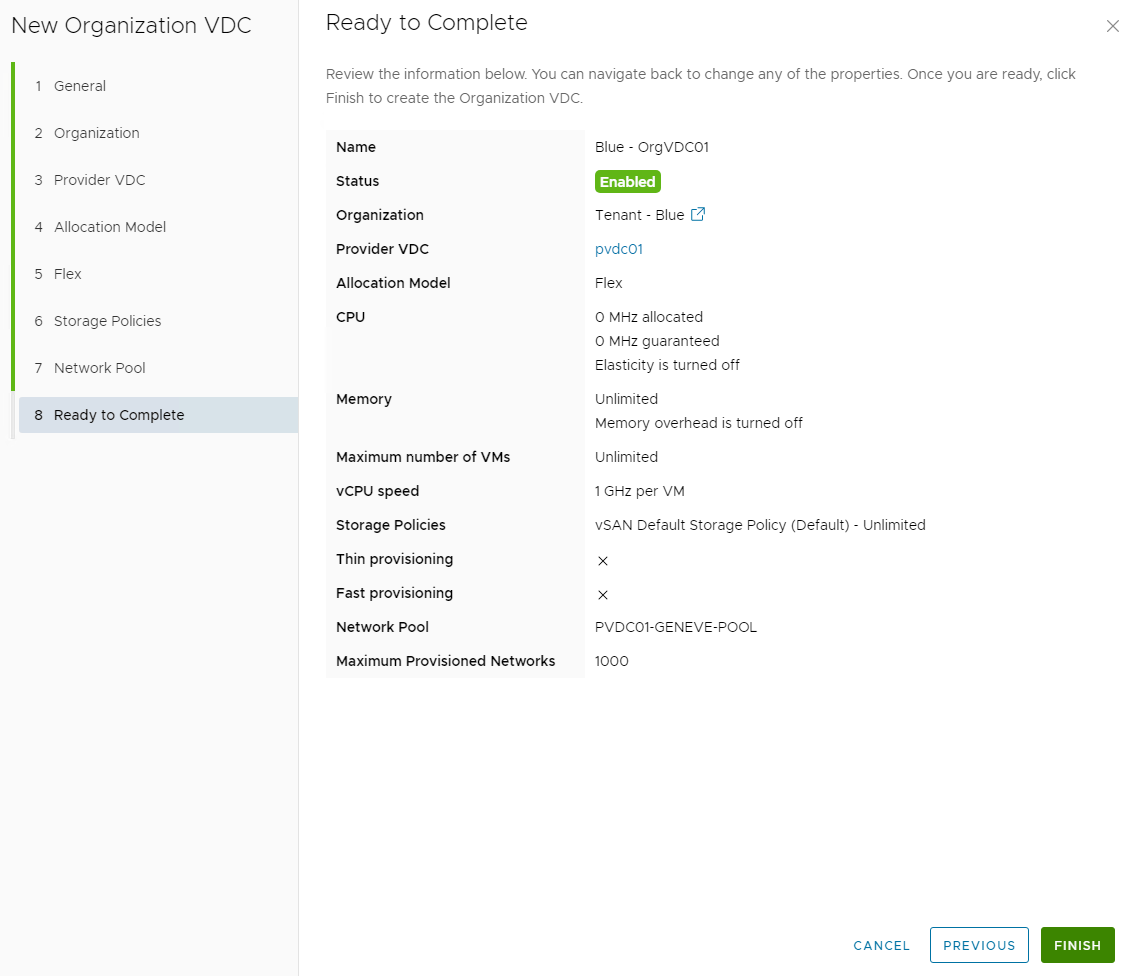
You should now see your NSX-T backed OrgVDC 
Create Tenant Edge Gateway
Create Edge Gateway for Tenant Blue, This will provision a T1 Gateway in NSX
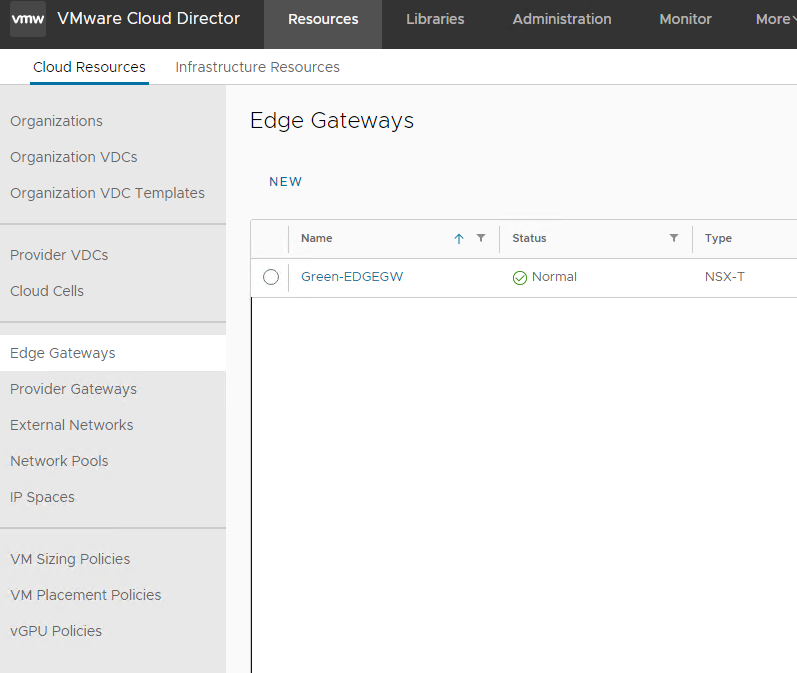
Created in the Provider Portal under Resources » Cloud Resources » Edge Gateways
Click New
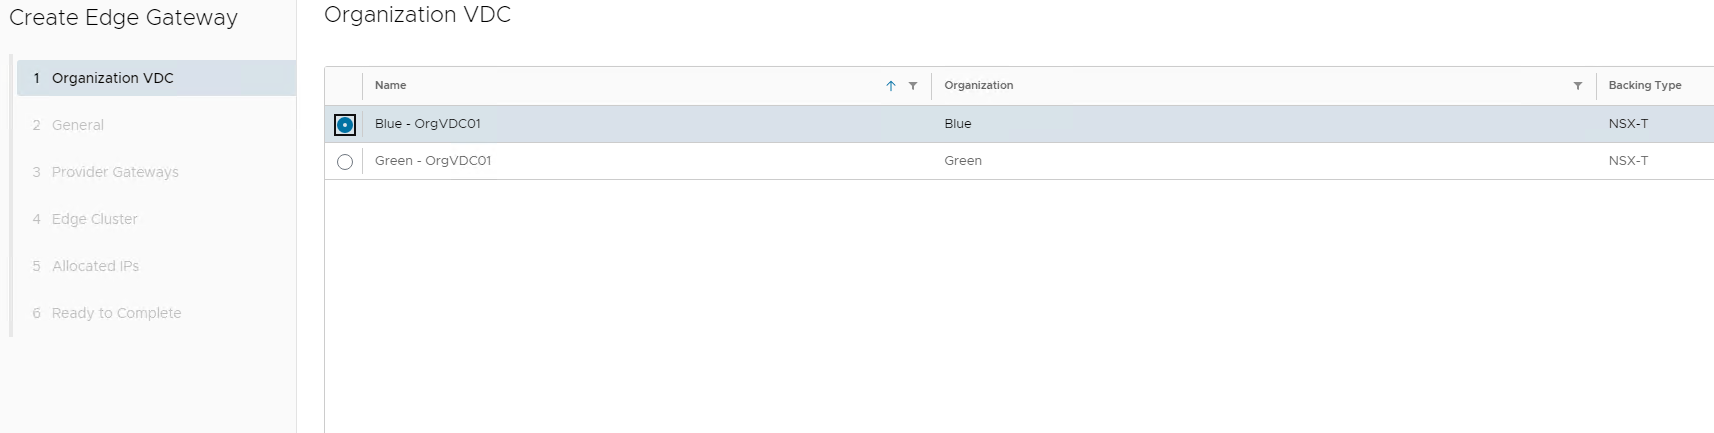
Choose the OrgVDC, click Next
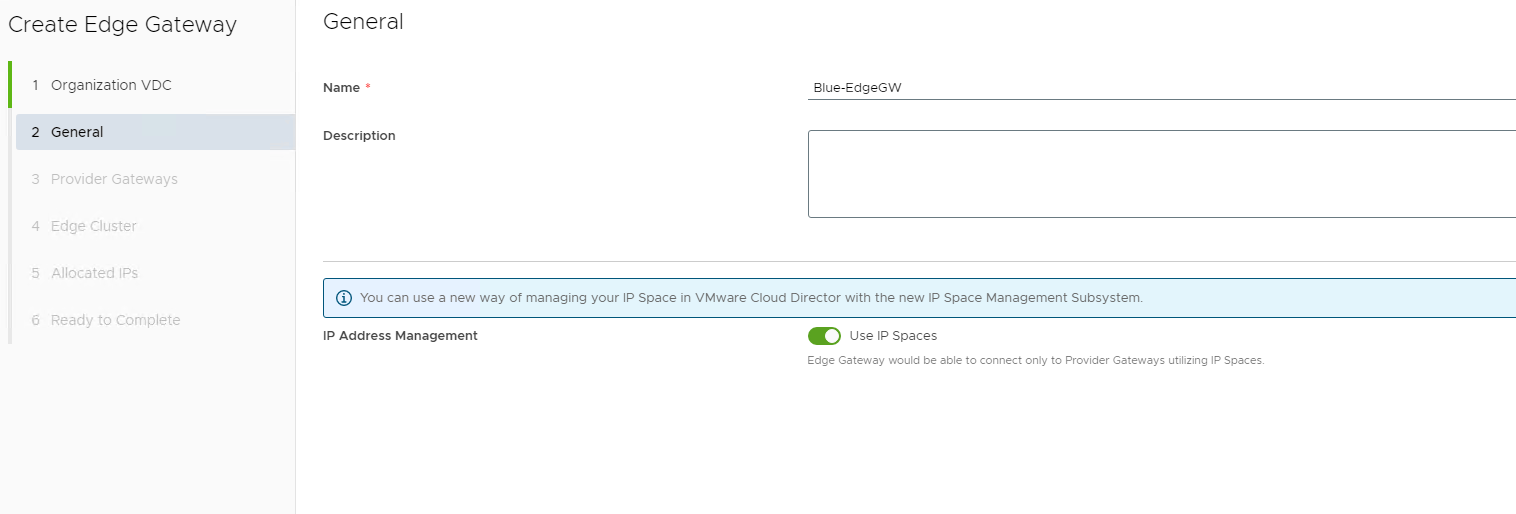
Name Edge Gateway and enable IP Spaces, click Next
Choose your Provider Gateway, click Next 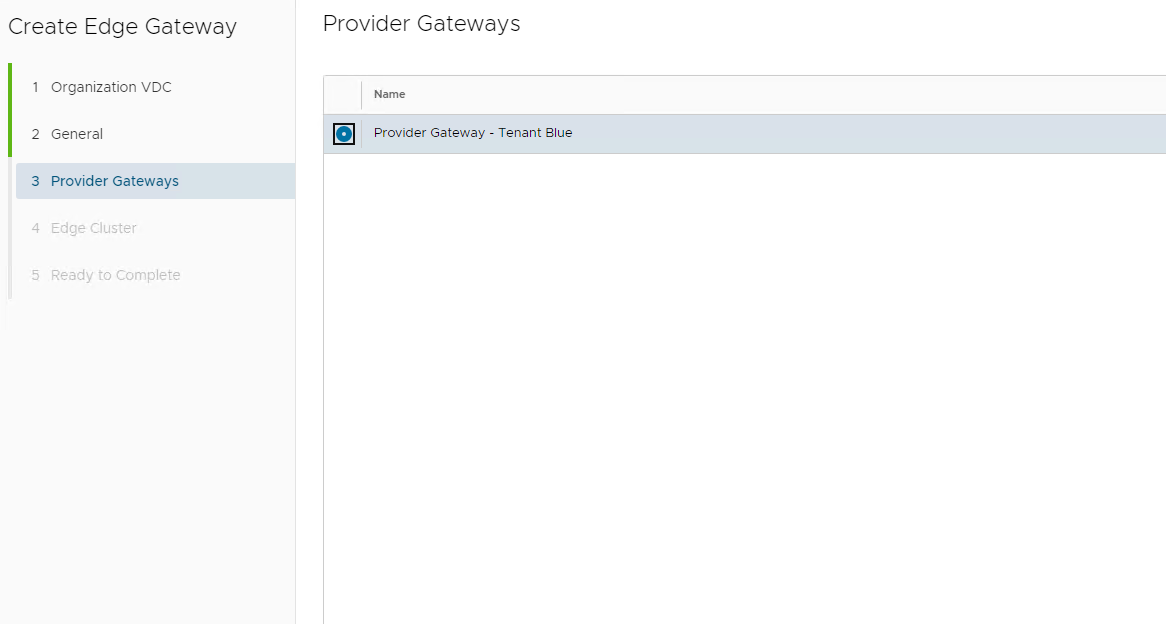
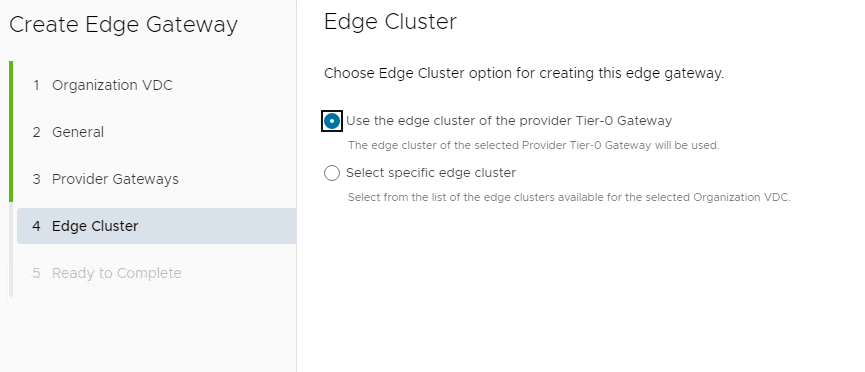
This is dependant on the NSX configuration but, in this instance the edge cluster linked to the provider T0 will be used, click Next
 Review Settings and click Finish

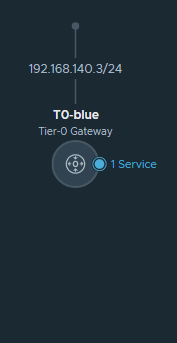
In NSX you will see the Edge Gateway deployed as a T1 Router linked to the T0 Provider Gateway 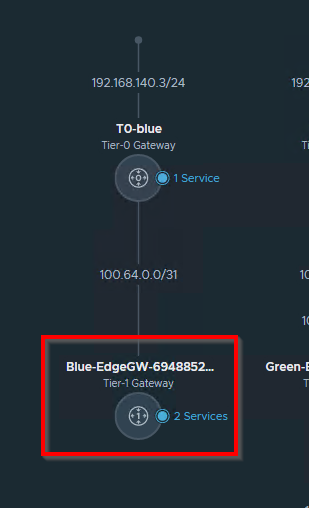
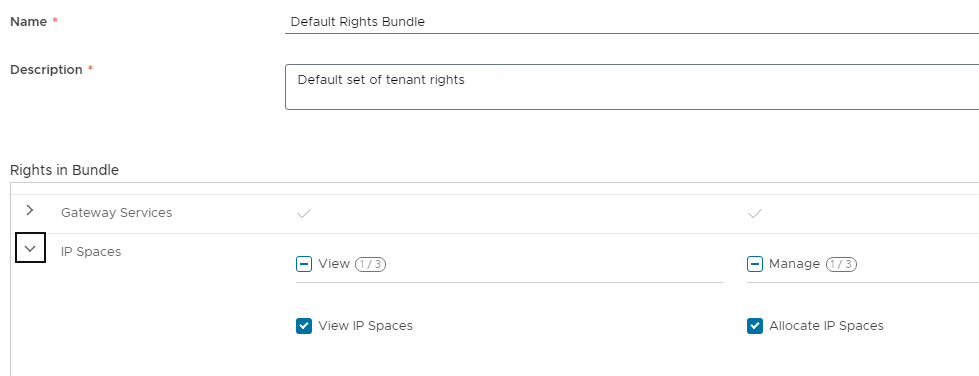
Modify Tenant Default Right Bundle
To allow Tenants to create Networks via an IP Space prefix, the Tenant Default Rights Bundle needs to be modified.
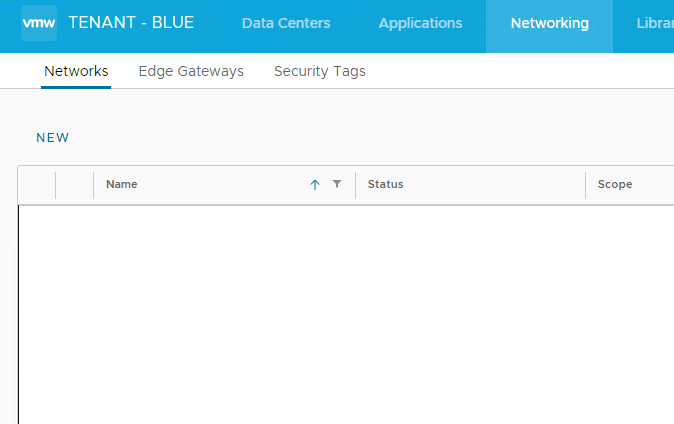
Create New Network as Tenant
A tenant can now log into the Tenant Portal and create their own L3 Routable Network using IP Spaces.
Under Networking, click New
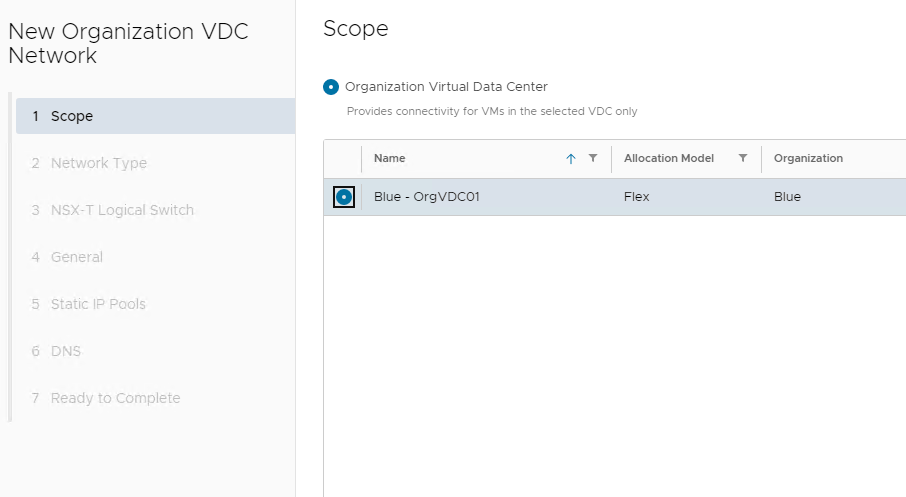
Choose your orgVDC, click Next
**If there is a need to present a network to multiple OrgVDCs, a Datacenter Group can be created. **
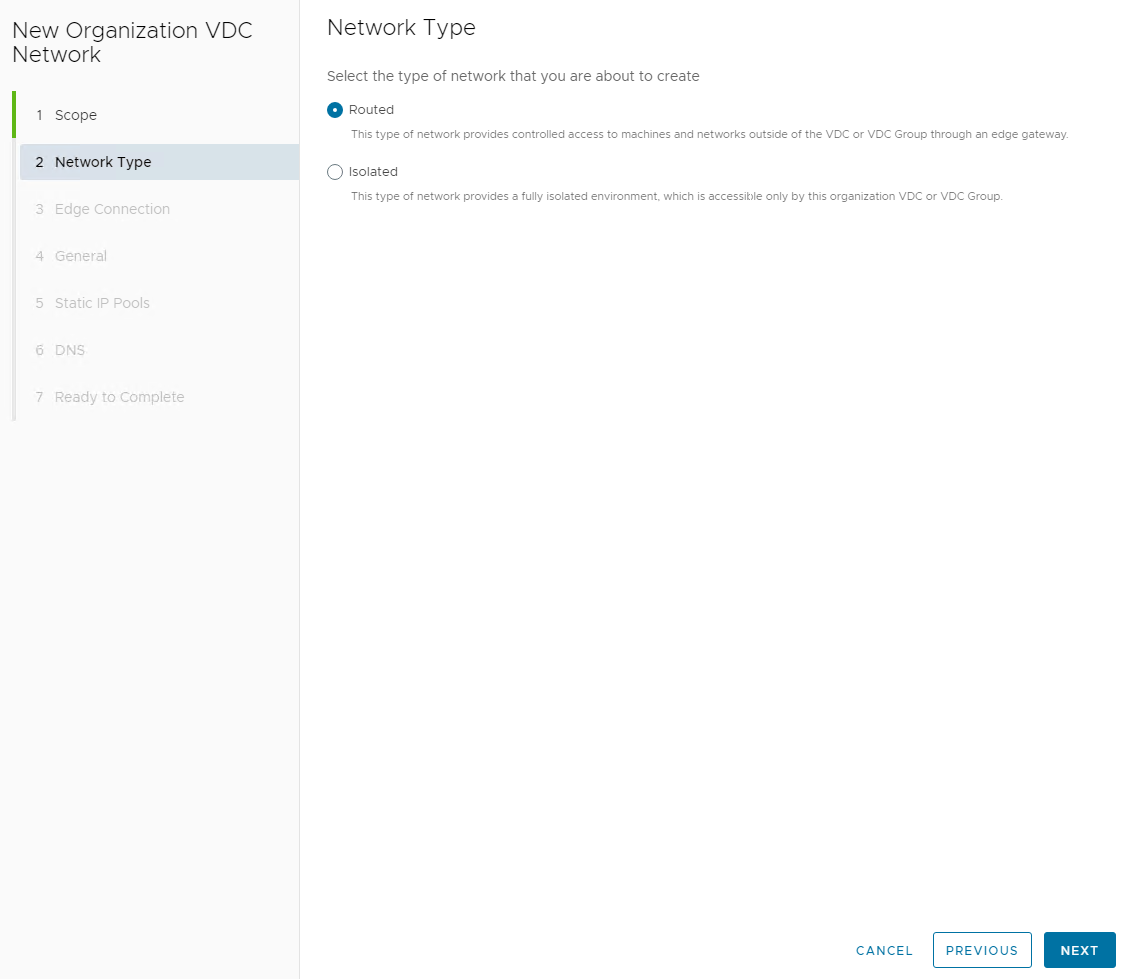
Choose Routed, click Next
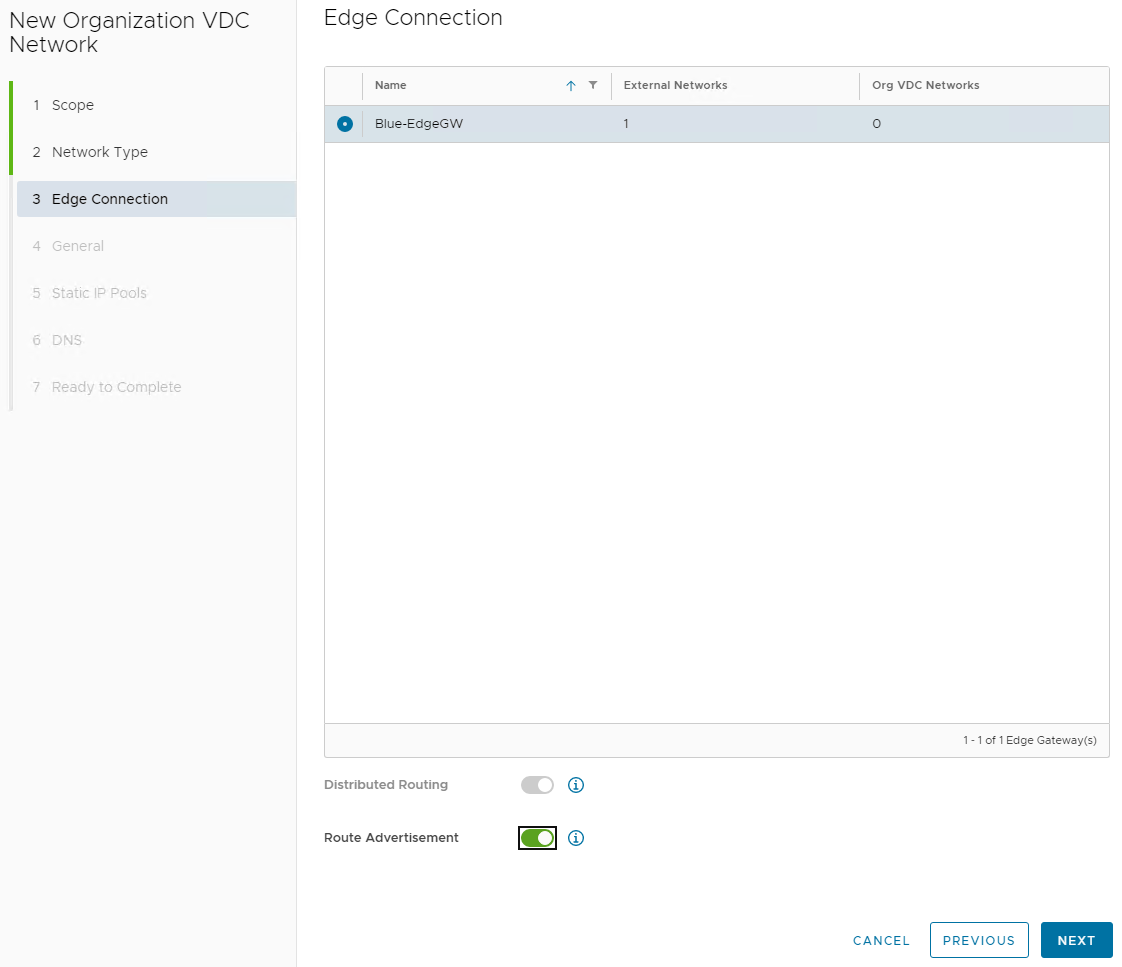
Specifiy the Edge Gateway, click Next
Name your Network, under Gateway CIDRs request a IP Prefix from your IP Space
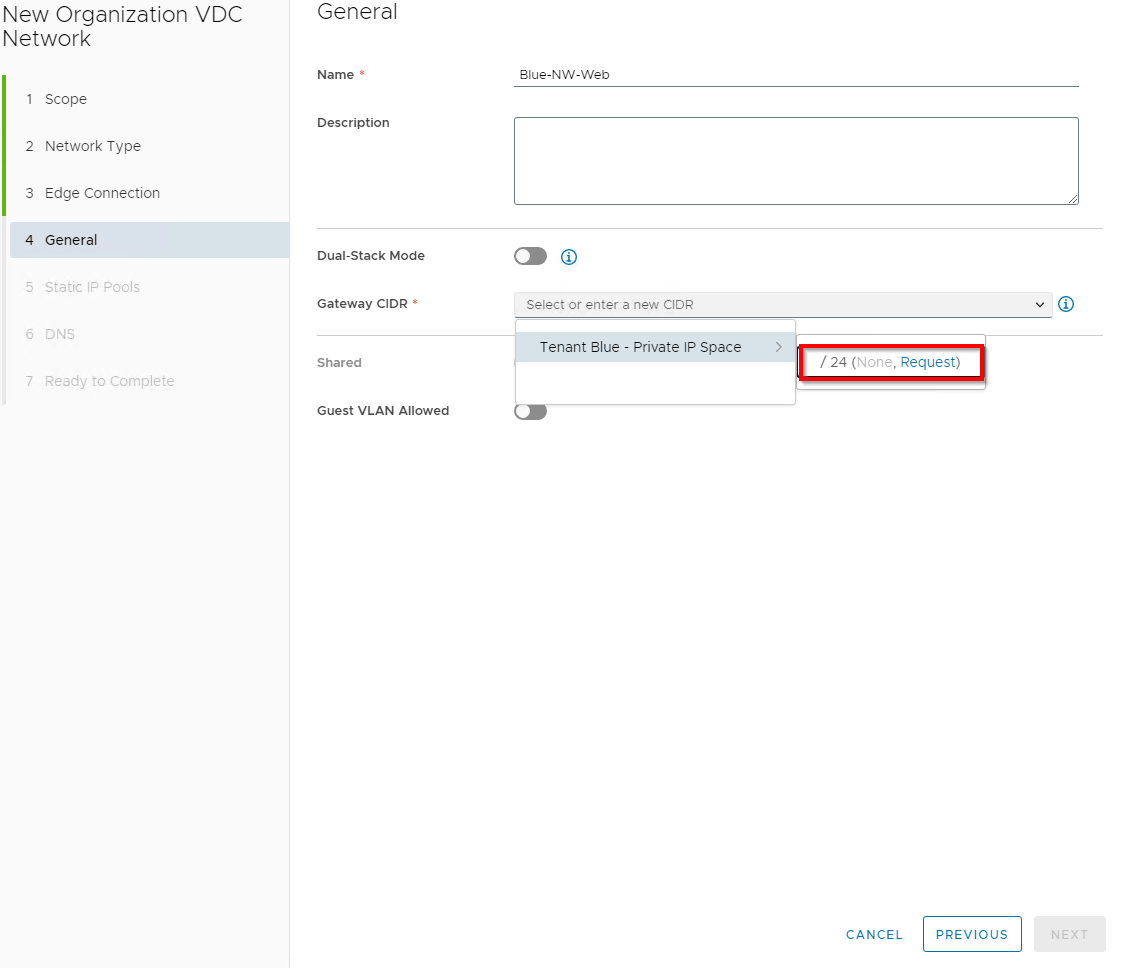
VCD will then get a Sequence from the IP Space and assign to this network


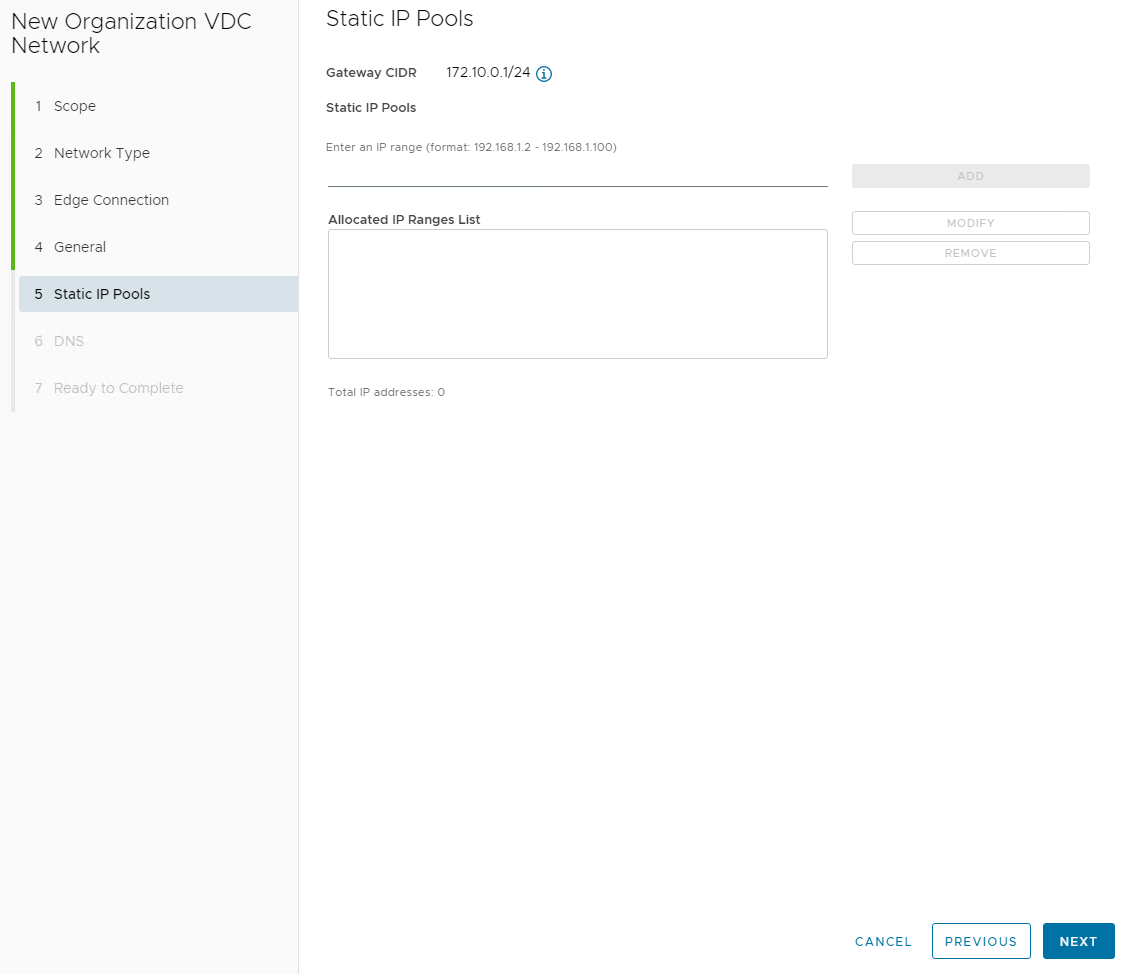
Skip Static IP Pools, click Next
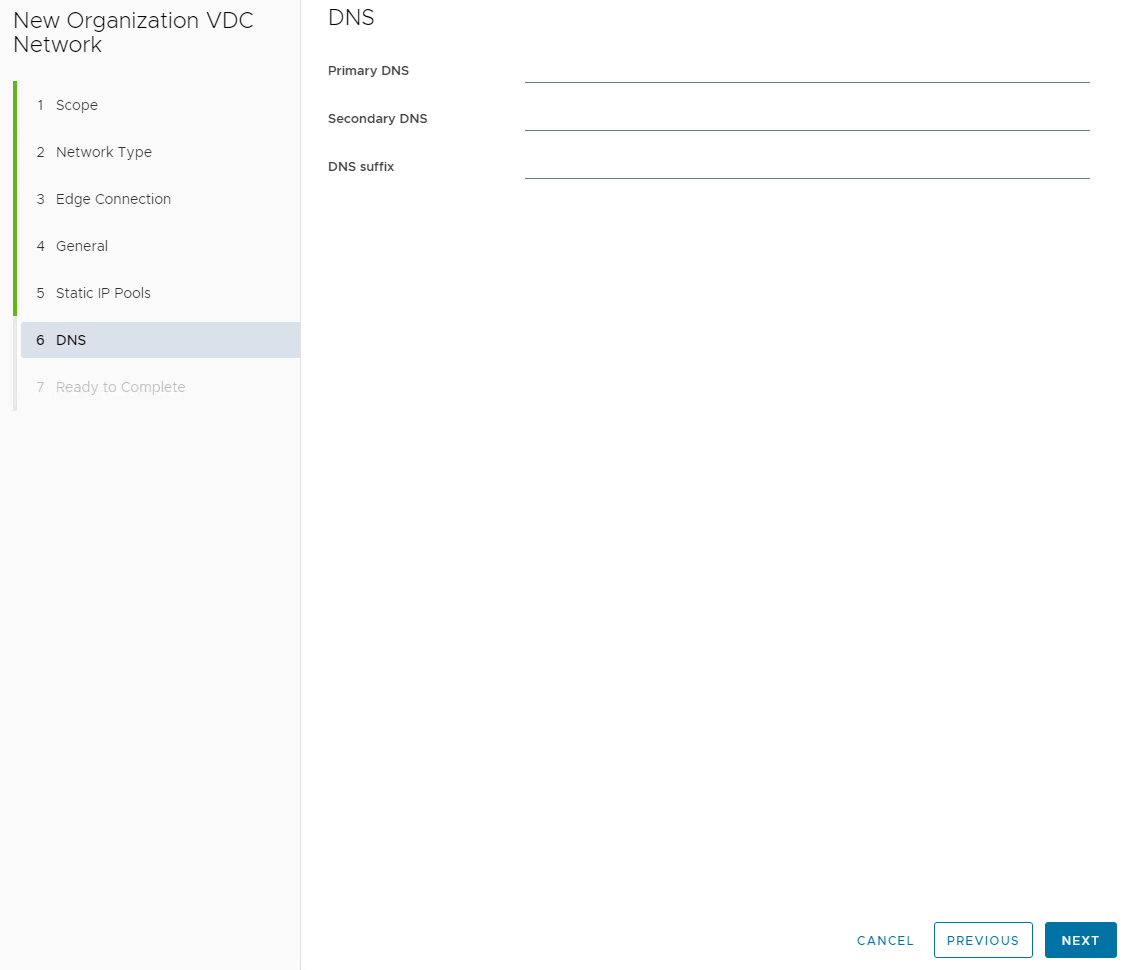
Skip DNS, click Next
Review Settings, click Next
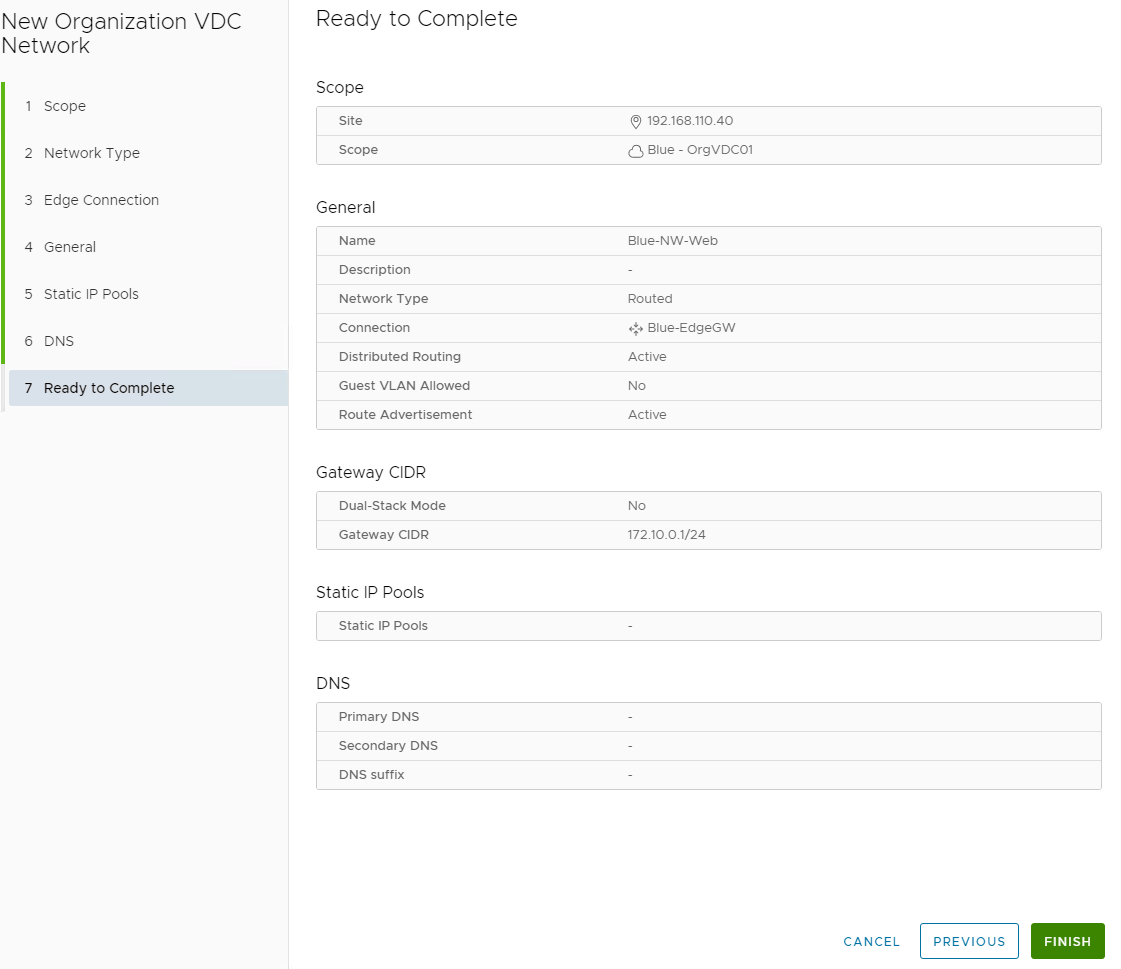
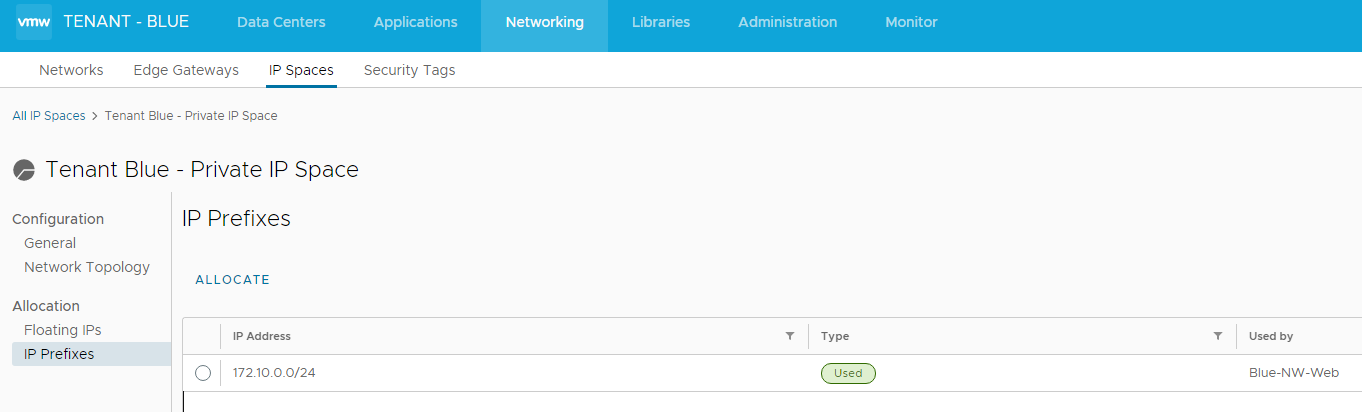
The Network is now visible in the Blue Tenancy, the tenant is now able to build VMs and applications to assign to this network.

NSX and BGP Verification
viewing the IP Space usage and allocation can be done in the Tenant Portal under Networking » IP Spaces
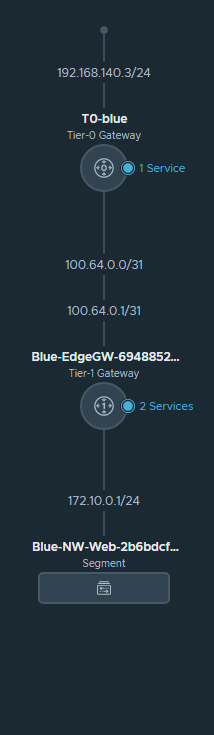
In NSX, you can now see your network created as an Overlay Segment.
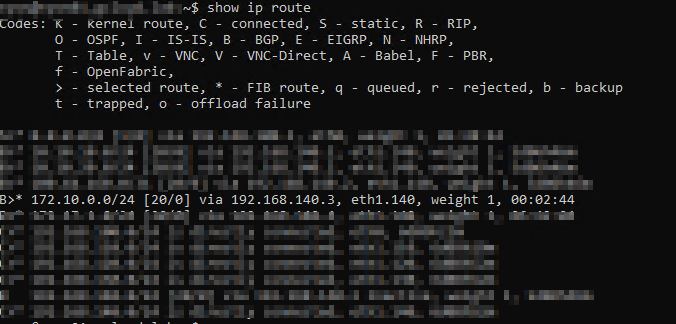
As promised, this network is routable and is showing on my physical router via BGP.
Summary
IP Spaces is a VCD IP management system that allows providers to assign IP interfaces to customers without any duplication and overlapping.
Another benefit I can see here is if the Provider provides public IP addresses to customers where they can request and release as needed.
Thank you for reading